A Beginner’s
Guide to IVF
A Step-by-Step Guide to How IVF Works and Tips to Prepare for Your IVF Journey

Preparing for Your IVF Journey
If your fertility journey has led you to in vitro fertilization (IVF), you are probably feeling a variety of diverse emotions including anxiety, excitement, fear, and/or ambivalence.
These emotions and feelings are very common and normal and can be escalated by the unfounded, unfair stigma placed on fertility treatments, especially IVF.
Uncertainty and fear of the unknown can make IVF an intimidating process. You are not the first and you will not be the last to feel this way.
One of the most important things for your IVF journey is to be familiar with every aspect of IVF and to feel empowered that you have prepared in every way to optimize your success. We want you to take the first step toward success by preparing for your future IVF cycle with this overview!

What Does IVF
Aim to Achieve?

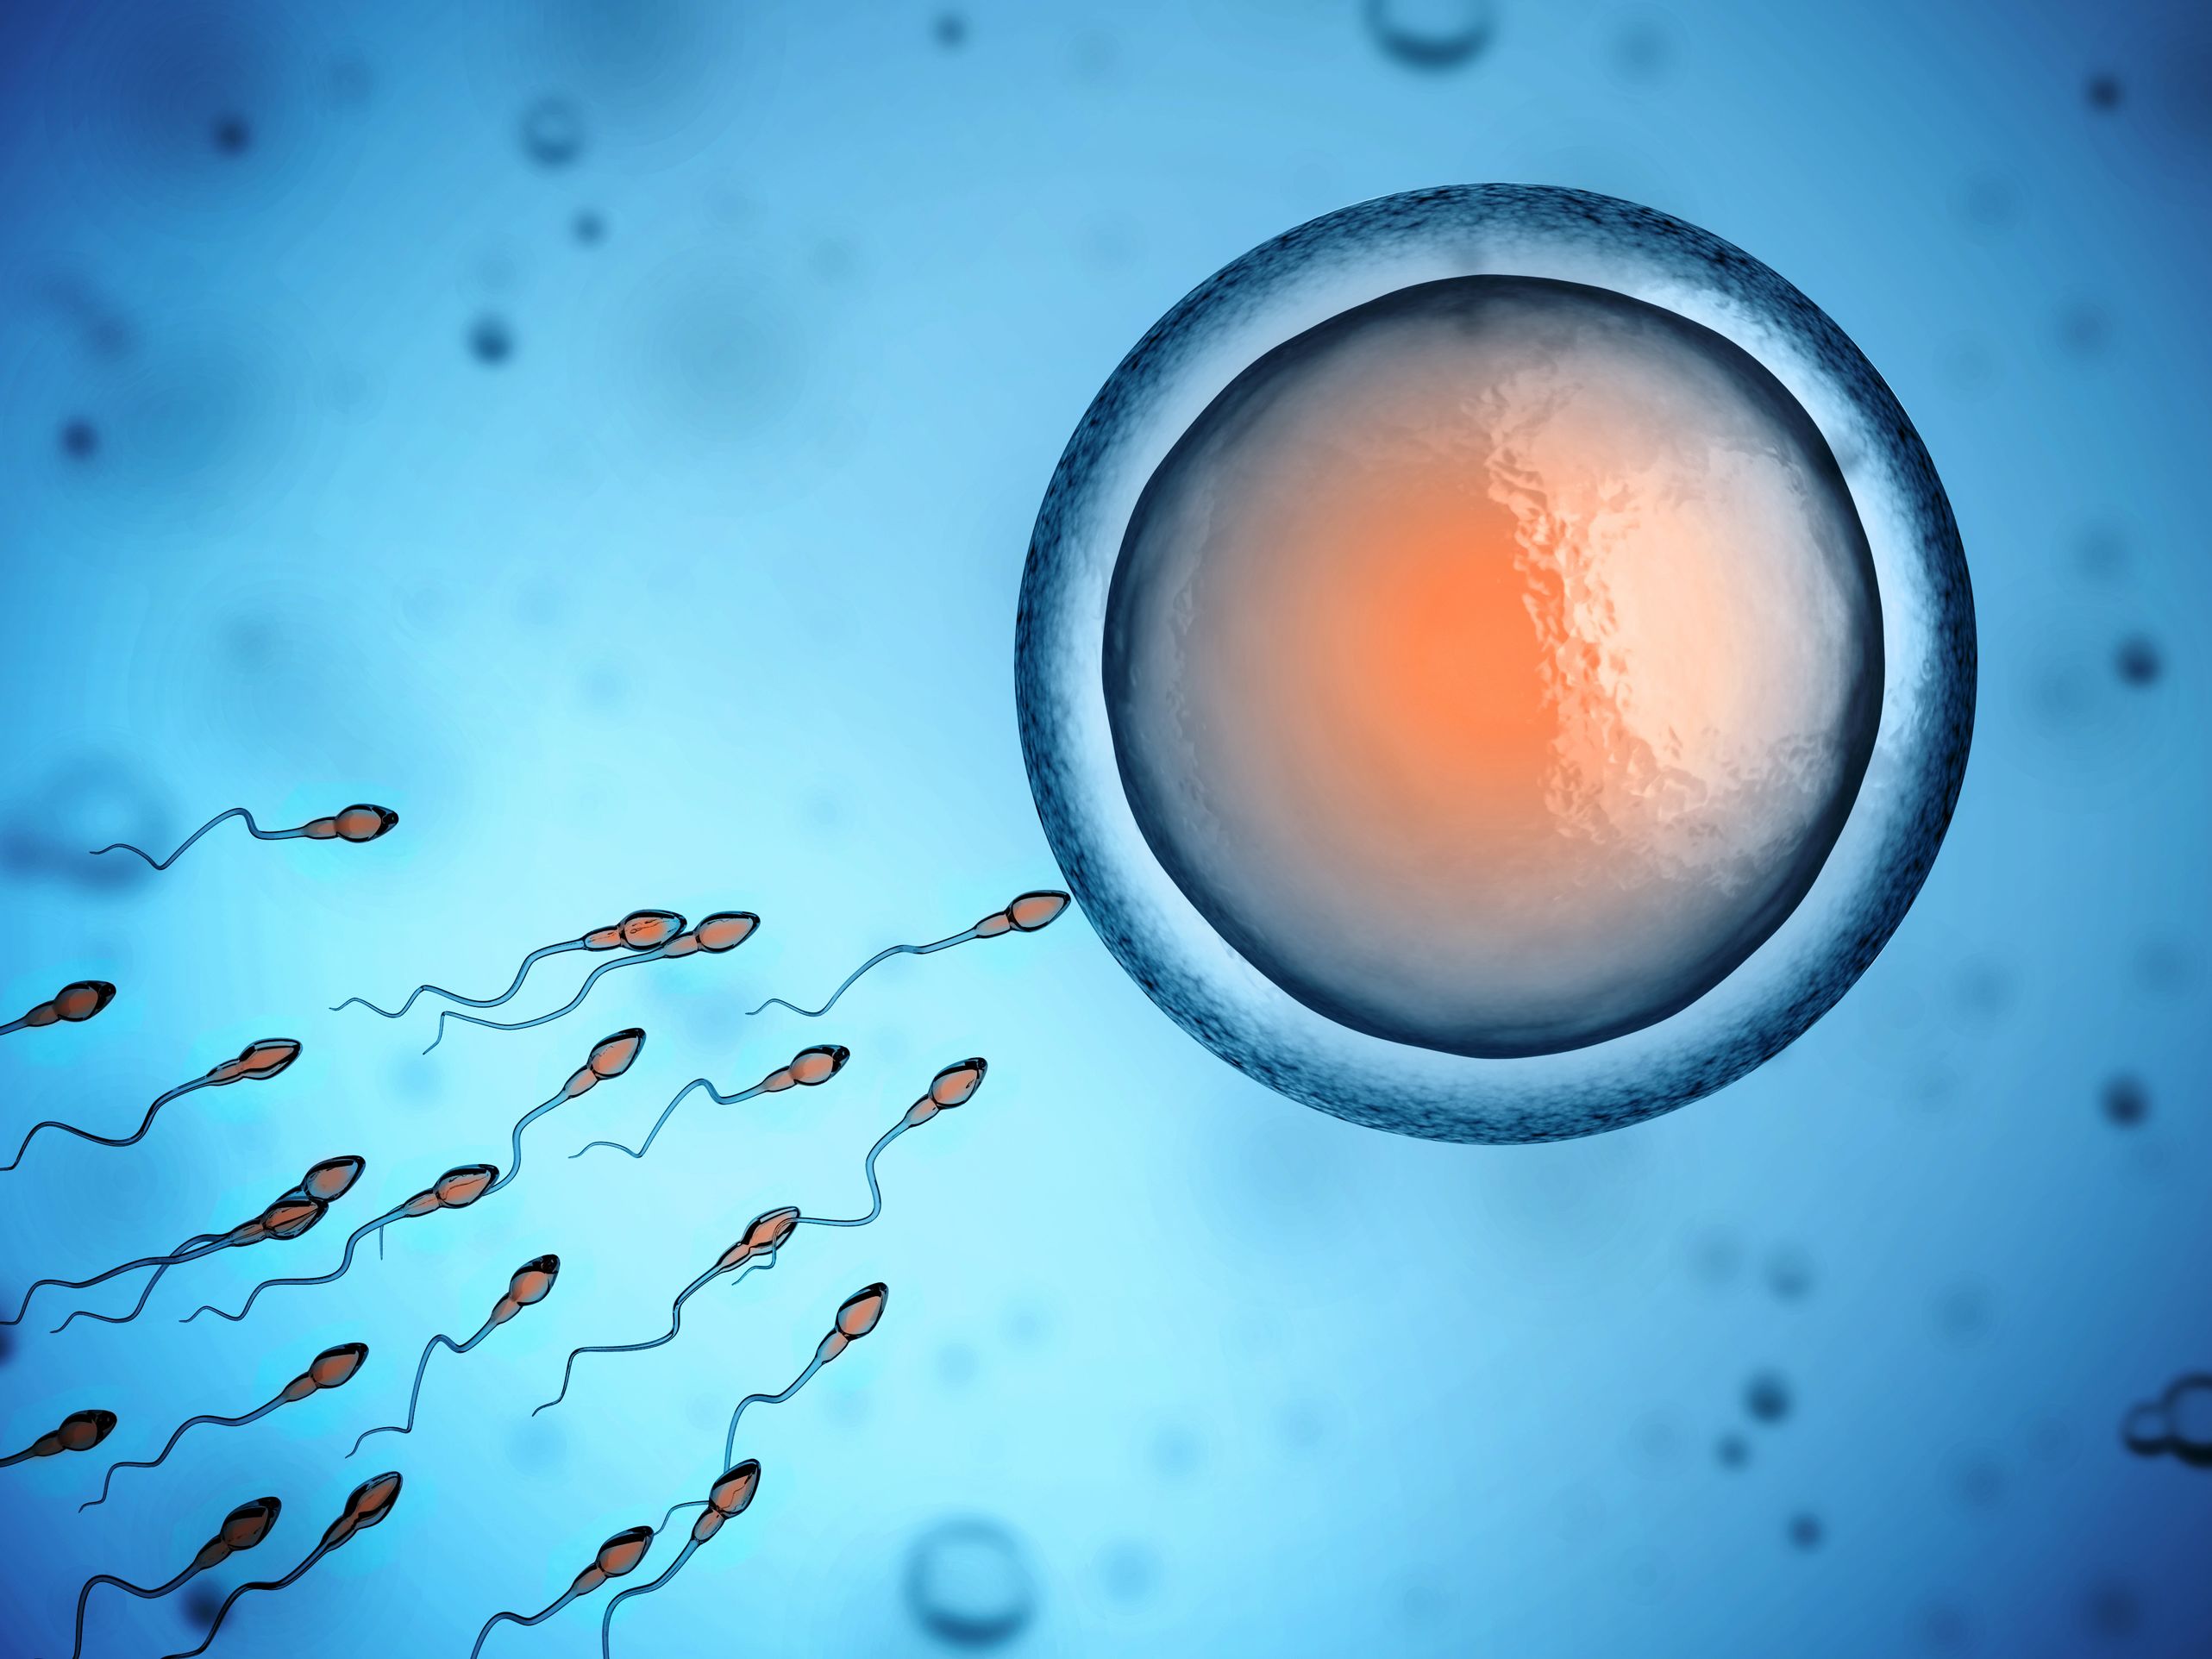
Before starting IVF, it is important to understand that the ultimate goal of this treatment is to help your body do something it can’t typically accomplish: to safely make several mature eggs and embryos (fertilized eggs) in a short period of time.
Making several eggs at one time (i.e. during an IVF cycle) allows for many eggs to be fertilized with sperm and to produce several embryos. These embryos are cultured (grown) outside of your body in the IVF laboratory to select the best embryos that will hopefully provide the best chance of pregnancy.
The Four Stages of IVF
1. Ovarian Stimulation
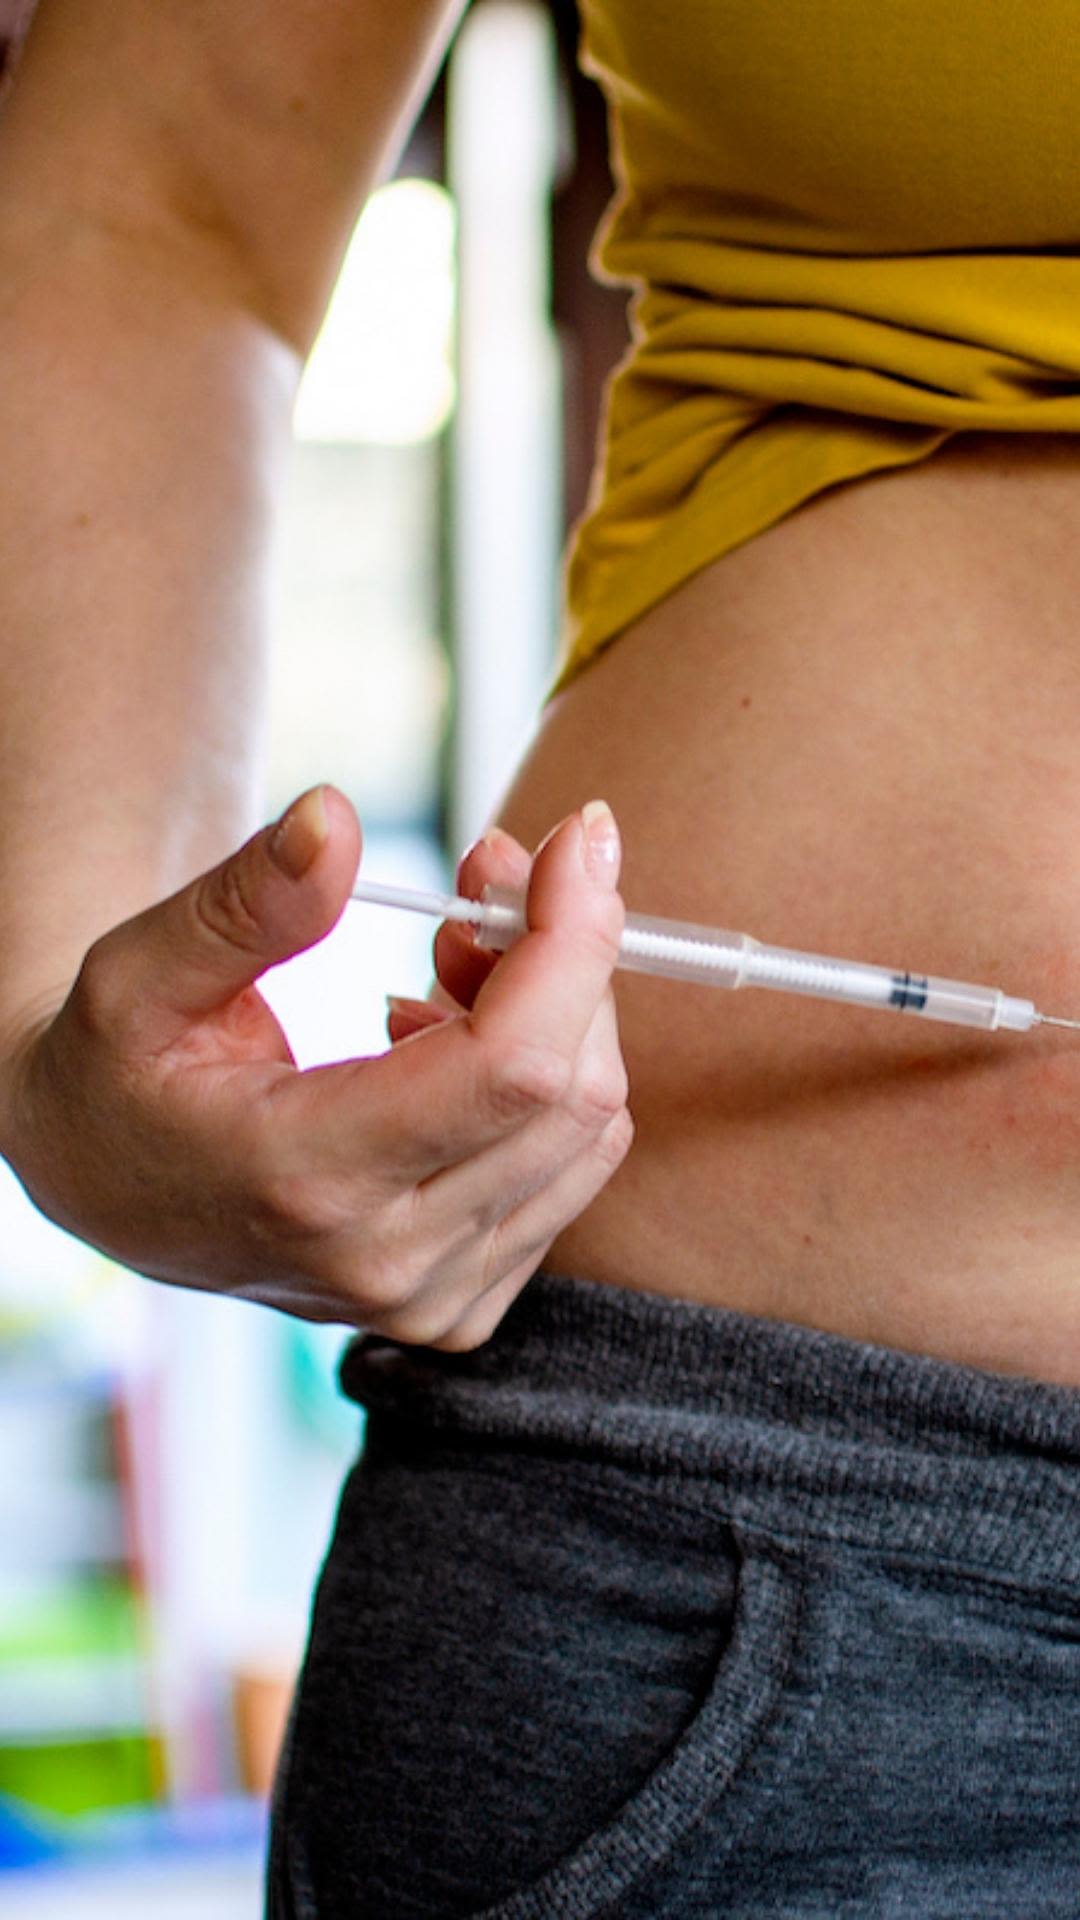
During IVF, you will give yourself daily injections (usually synthetic [made in a lab] or human derived reproductive hormones) that stimulate your ovaries to make multiple eggs during a 10 to 12 day time frame. This process is known as controlled ovarian hyperstimulation (COH).
2. Egg Retrieval
After COH is complete, your eggs will be removed from the ovaries during a brief minimally invasive surgery with light sedation called an egg retrieval.
3. Embryo Culture
Your eggs and sperm (either from your partner or a sperm donor) will be combined in the IVF lab. When the sperm enters the egg (known as fertilization), the genetic material from both your eggs and the sperm unite, and your fertilized eggs become zygotes.
Zygotes are grown further and are called embryos. The embryos will be grown (cultured) in the IVF lab for several days. Since the IVF lab culture system mimics the conditions of the fallopian tubes and uterus, it will help to identify and select the strongest embryo that will provide you with the best chance for pregnancy.
4. Embryo Transfer
The embryo(s) can either be transferred into the uterus to begin pregnancy, they can be frozen for future use, or they can undergo genetic testing and be frozen for transfer into the uterus at a later date.
From start to finish, the IVF process typically takes 2-4 weeks, although this may vary based on your personalized treatment plan.
Tips to Prepare
Your Body for IVF
Studies have shown that nutrition and lifestyle factors can impact your fertility health. Prior to starting IVF treatment, here are some diet and lifestyle modifications you can make to help improve your chances of a successful cycle.
Dietary suggestions
- Vitamins/supplements including, but not limited to: Prenatal vitamin that includes vitamin D3 [2000 IU/day], Coenzyme Q10 (400-600 mg per day), Omega 3 fatty acids [aka fish oils or DHA] (1000 mg per day)
- Well balanced diet composed of high-quality protein sources and vegetables, and healthy unsaturated fats (e.g. olive and vegetable oils, avocados, nuts and seeds, and some fish).
- For additional information on dietary suggestions to improve your fertility, check out this video on nutrition and fertility.
Lifestyle modifications
- It is optimal that your body mass index is in the range of 19-26 kg/m2.
- Get 7-8 hours of sleep per night.
- Try to minimize unnecessary personal or professional stressors.
- Eliminate the use of any tobacco source or any vaping.
Holistic treatment
- Acupuncture, beginning several weeks to months before your treatment.
- Fertility yoga


The IVF Process
It’s important to keep in mind that your treatment cycle may vary slightly, since your protocols will be based on your family-building goals and personalized treatment plan.
Preparing For Your IVF Cycle
Your team will order your fertility medications and may have you complete an IVF training (either in-person or online) to review how and when you will take your medications.
Your care team will also send your IVF calendar that includes the dosing and timing of your medications. Make sure you ask your team any questions in advance about your medications or treatment protocol.
Priming
Many IVF stimulation protocols involve taking estrogen treatment (either pills or patches) that start several days after you ovulate (release an egg) or oral contraceptive pills beginning with your menses (period). If your treatment plan involves priming following ovulation, you may be asked to use over-the-counter urine ovulation predictor kits (OPKs) or hormonal blood tests at your clinic to help you determine when to start priming. Priming can be used to improve the number of mature eggs that can be obtained during the process. Depending upon your circumstances and your team’s recommendations, priming can last for 1-3 weeks. In some cases, priming may not be required.
Ovarian Stimulation
Baseline Ultrasound
A few days after your period starts (either following priming or normal start of menses without priming), you will go to your fertility clinic for a baseline vaginal ultrasound and blood tests on cycle days 2-4 to ensure that you don’t have any cysts in your ovaries, the lining of your uterus is thin, and to confirm that your ovaries are in a resting state so that you can start stimulation medication.
IVF Medications
During a typical menstrual cycle, the pituitary gland (in your brain) releases Follicle Stimulating Hormone (FSH) and Luteinizing Hormone (LH) to cause the ovary to select a single follicle (specialized cyst in the ovary that contains an egg) to grow. If your baseline ultrasound is normal, your team will ask you to begin stimulation of your ovaries. This involves taking injections that are synthetic or purified forms of FSH and LH (also called gonadotropins), which are more potent than what your body makes naturally. You or your partner will give you these injections subcutaneously every day. The injections are given just below your skin, have minimal discomfort and feel similar to a sharp pinch. As you take your injections, multiple follicles will grow and will make more and more reproductive hormones (mainly estrogen and a small amount of progesterone).
You will take a third subcutaneous injection medication called either GNRH agonist or GNRH antagonist. As your follicles continue to grow and produce more and more estrogen, the brain signals your ovaries to release eggs prematurely before they can be retrieved. This injection prevents your brain from telling your ovaries to release eggs before your team can obtain your eggs during egg retrieval.
Side Effects of Fertility Medications: Since the fertility medications will cause your follicles and ovaries to grow quickly over a short period of time, it is not uncommon to experience the following side effects: bloating, lower abdominal cramping, and mild nausea. If you have severe pain that is constant and/or you have persistent nausea and vomiting, you should alert your clinical team.
Ultrasound/Blood Monitoring
Over the next 8-12 days after your baseline ultrasound visit, you will take your injections and will come into the clinic for 4-6 short visits (usually 15-20 minutes each) to have ultrasounds and blood tests during that time. During the monitoring visits, your team will measure the thickness of the lining of your uterus and measure the size of your follicles and your hormones levels. Your follicles will become progressively larger, and the lining of the uterus will become thicker in response to the increasing levels of hormones. Your team may adjust your hormone injection dose based upon the results of each monitoring visit. A few hours after each visit, your team will call you to review any adjustments in your medication dose and to schedule the next visit.
Your team will monitor your hormone levels and follicle sizes closely until the largest follicles (also called lead follicles) reach an average size of 18-22 mm. At this point, your clinical team will determine the best timing for you to take your final medication (the trigger shot) to make the eggs in the follicles reach maturity.
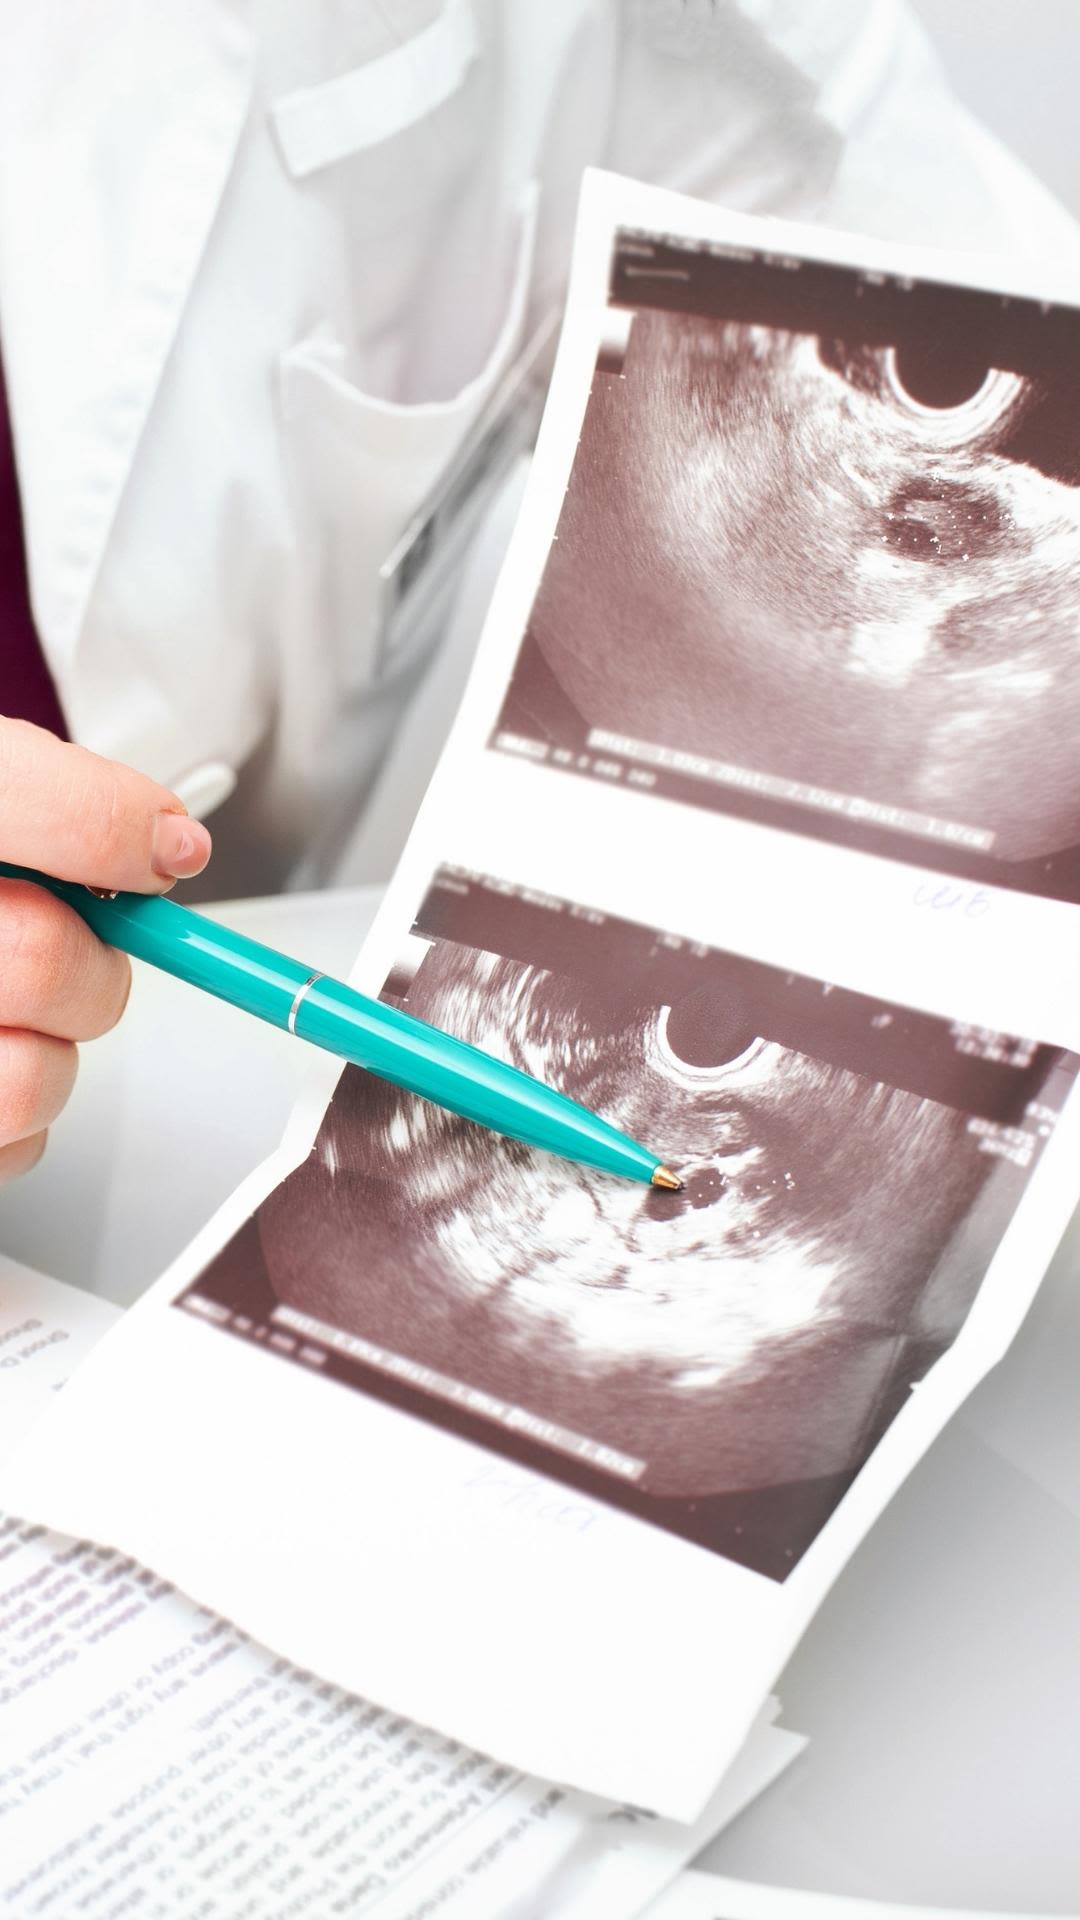
Follicles on an ultrasound
IVF Trigger Shot
When stimulation is complete and your follicles have reached their ideal sizes, it will be time for you to give yourself an injection (can be subcutaneous, intramuscular, or both) to trigger ovulation. This medication causes the eggs in the follicles to become mature and begins the process of ovulation. Most women will ovulate and release eggs from their follicles 37 to 38 hours after the trigger shot.
In order to obtain the greatest number of mature eggs, your team will perform the egg retrieval 1-2 hours before you ovulate. This is usually 35 to 36 hours after you give yourself the trigger shot. Your team will call you to provide the exact time to administer the trigger shot.
The time of your egg retrieval will be determined by the time of your trigger shot. For example, if your fertility clinic recommends a 36-hour time interval between trigger and egg retrieval: On Monday evening, if you administer the trigger shot(s) at 10 pm, then your egg retrieval will be performed at 10 am on Wednesday morning. The type and number of trigger shots you require will be determined by your personalized treatment plan.
Since only mature eggs can be fertilized when combined with sperm and become embryos during IVF, the trigger shot is the most important injection that you will take during your treatment cycle. When your team notifies you that your trigger will occur, please make sure you have completed the following:
- You have the correct trigger medications
- You know how to inject yourself
- You know the exact dose(s) of your trigger shot(s)
- You have confirmed the exact time of your trigger shot(s) and when your egg retrieval is scheduled

Side Effects of Fertility Medications: Since the fertility medications will cause your follicles and ovaries to grow quickly over a short period of time, it is not uncommon to experience the following side effects: bloating, lower abdominal cramping, and mild nausea. If you have severe pain that is constant and/or you have persistent nausea and vomiting, you should alert your clinical team.
Side Effects of Fertility Medications: Since the fertility medications will cause your follicles and ovaries to grow quickly over a short period of time, it is not uncommon to experience the following side effects: bloating, lower abdominal cramping, and mild nausea. If you have severe pain that is constant and/or you have persistent nausea and vomiting, you should alert your clinical team.
Follicles on an ultrasound
Follicles on an ultrasound
The IVF Procedures
Egg Retrieval
Arrival for the Egg Retrieval Procedure
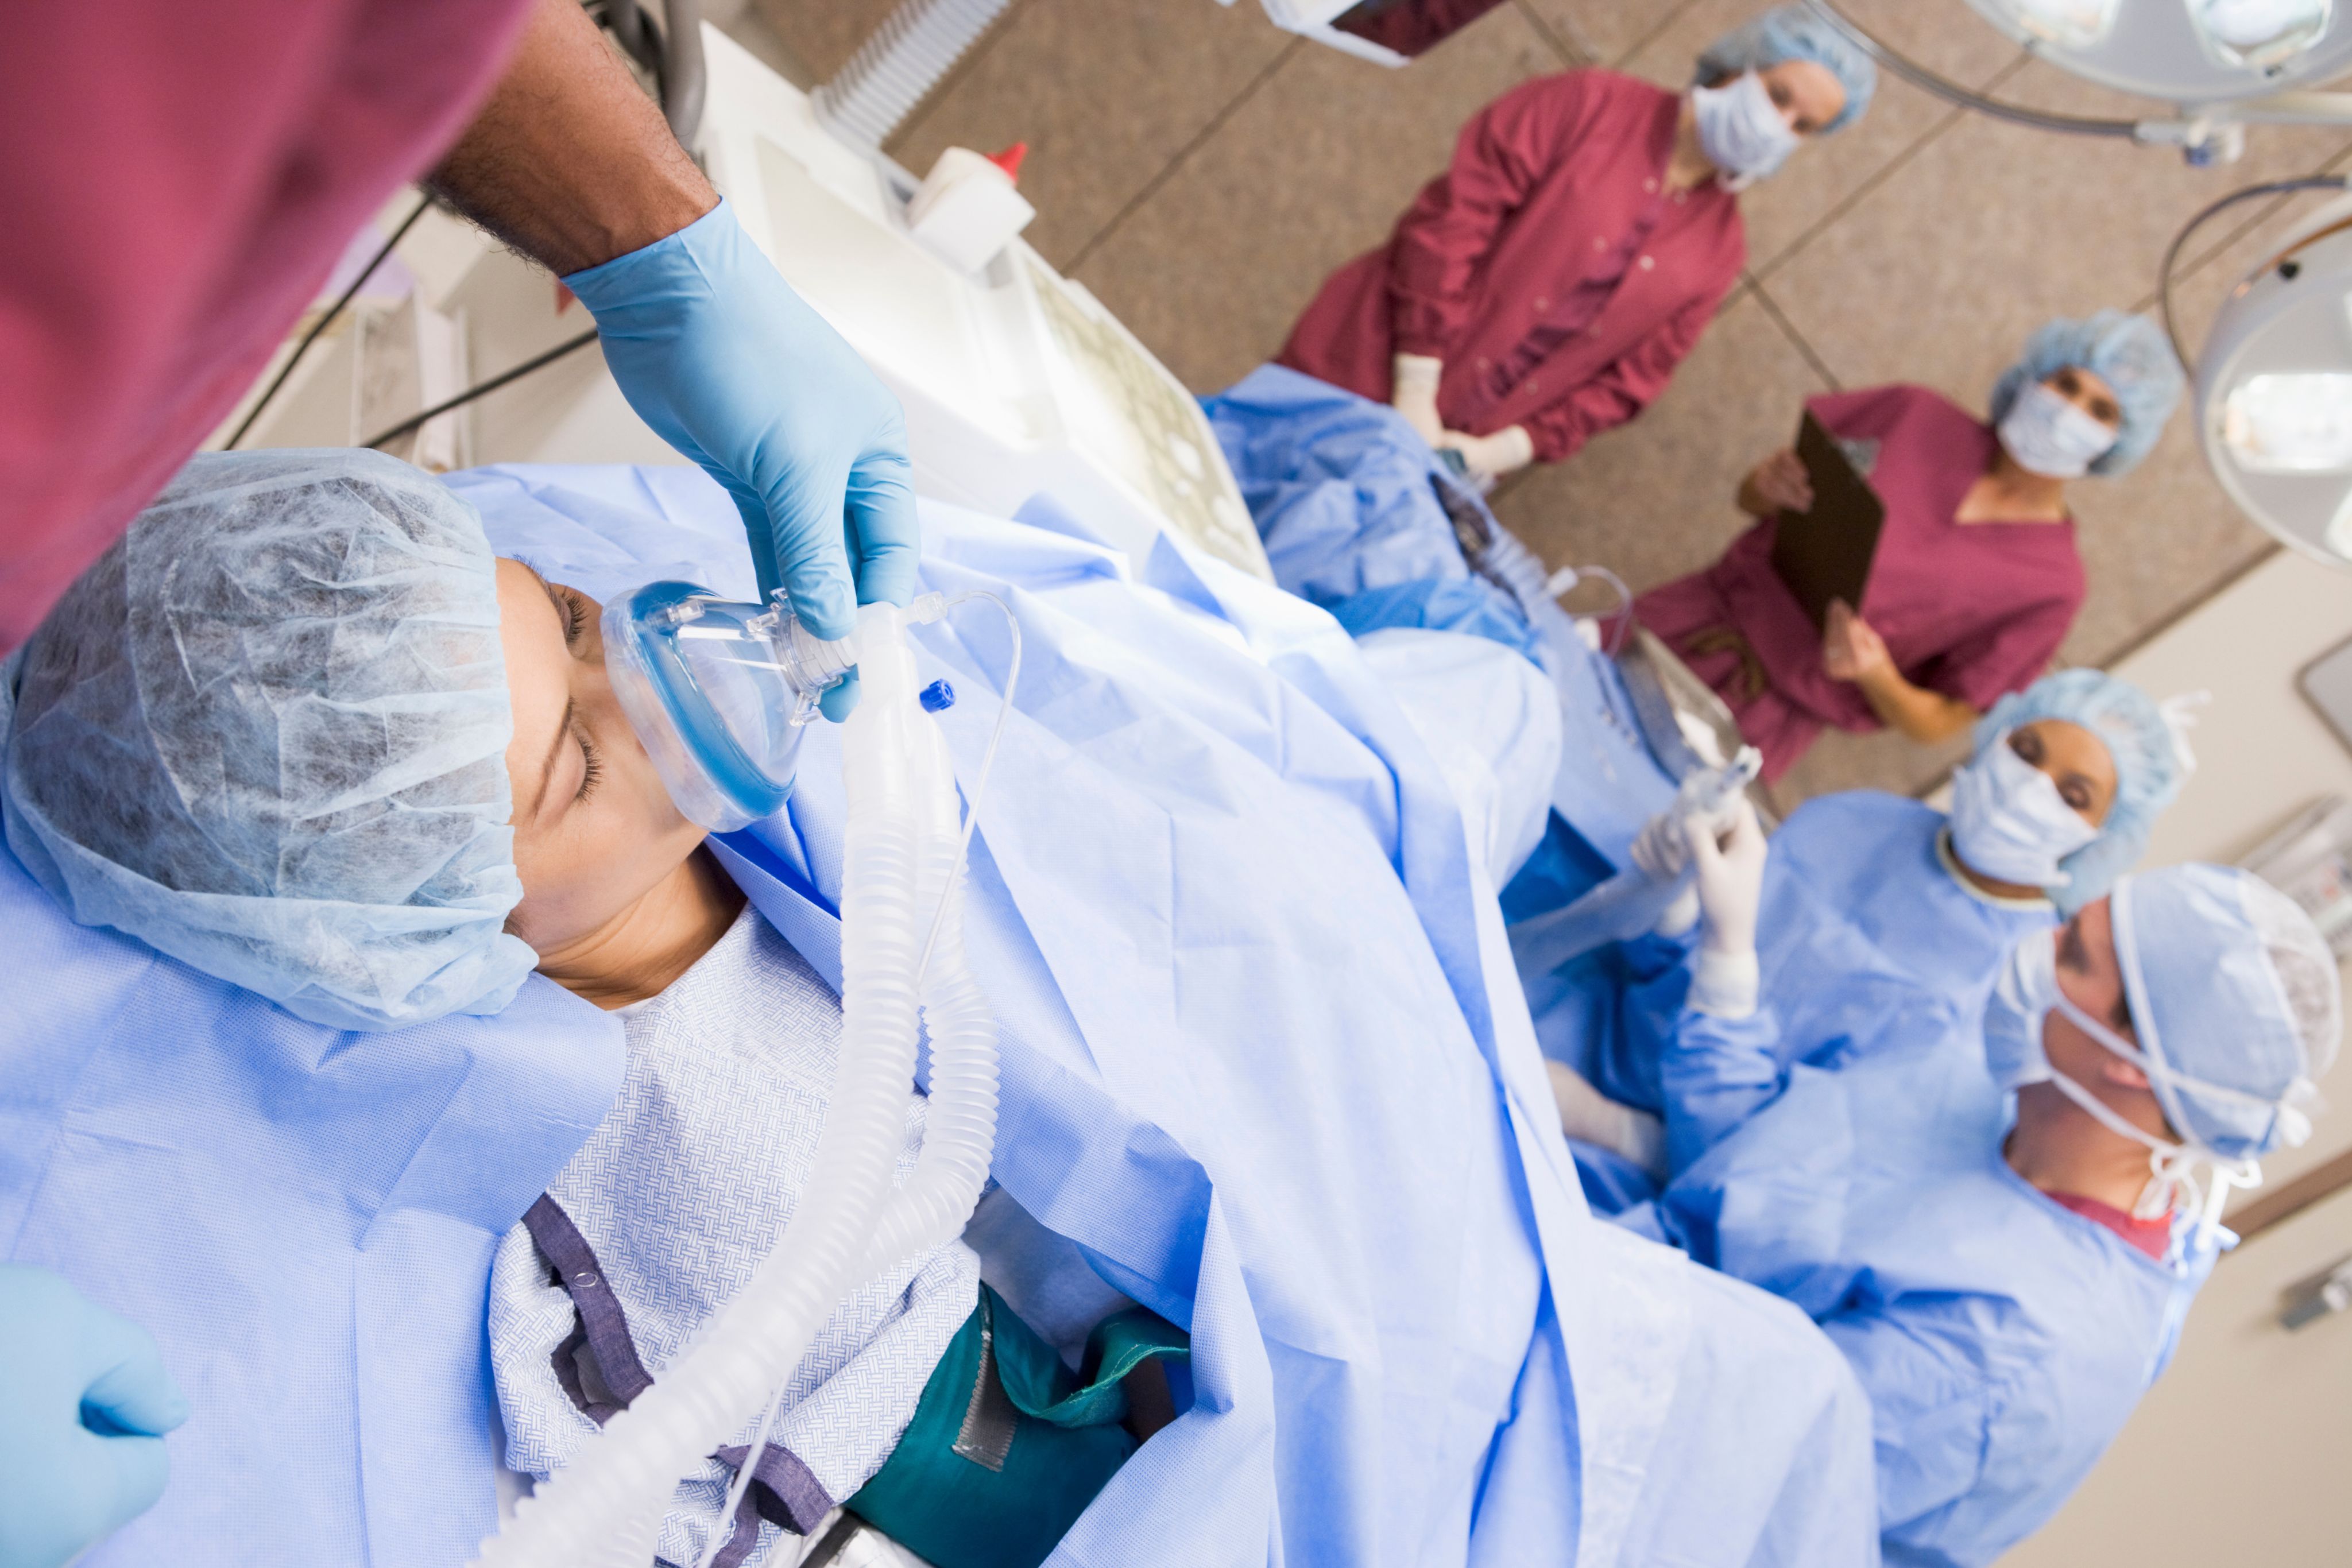
Upon your arrival for your egg retrieval, you will be escorted to the surgical center at your fertility clinic, your nurse will take routine vital signs, and start an IV. You will meet with the fertility physician, who will review the details of the egg retrieval. You will also meet the anesthesiologist, who will review the sedation that will be used for the egg retrieval.
Once ready for the procedure, your nurse will escort you to the surgical suite and your team will help you lay flat on the procedure table. You will have a mask placed on your face to provide oxygen to assist your breathing and you will undergo sedation. Although you will be sedated, you will be breathing on your own. Anesthesia, which is given through your IV, will prevent you from feeling or remembering the procedure.
What Happens During the Egg Retrieval Procedure
After you fall asleep with sedation, your physician and care team will carefully place your legs in stirrups. Your physician will wash the pelvic area and vagina to minimize any risk of infection during the procedure. She/he will insert an ultrasound probe in your vagina and will confirm the location of your ovaries and their follicles, as well as your bladder, intestines and major blood vessels. Next, she/he will guide a small needle through a channel at the end of the ultrasound probe. By guidance with the ultrasound, the tip of the needle will be placed through the vagina and into each individual follicle in each ovary.
The fluid will be aspirated (taken) from each follicle with suction and examined under a microscope by the embryology lab staff to confirm that an egg is present. After all the follicles have been aspirated, your physician will check with the ultrasound to confirm that there is no abnormal bleeding. The procedure usually takes less than 20 minutes.

Egg Retrieval Recovery
After the egg retrieval, you will then wake up in the operating room and be transported to the capable hands of your nursing staff in the post-anesthesia care unit, commonly referred to as the PACU or recovery room.
Once you are alert and awake, your physician will speak with you about how your egg retrieval went and how many eggs were obtained. Your nurse will measure your oxygen levels, blood pressure, heart rate, and pain level closely during recovery.

Possible Side Effects Following Egg Retrieval
You may not feel like your normal self immediately after the procedure. You may feel sleepy or fatigued, and possibly slightly uncomfortable. You may feel “crampy” in your middle lower abdomen. This is due to the ovaries beginning to shrink in size after the follicles have been aspirated. These symptoms will improve quickly, and you will receive medication for this discomfort. Because the sedation used during the egg retrieval is very light, you will not have any side effects by the next day. You will be discharged home about 60-90 minutes after your egg retrieval has been completed.
For about a week following egg retrieval, you may have intermittent cramping and bloating. During this time, you may also experience significant constipation. Make sure you hydrate with at least 8-12 glasses of water or electrolyte rich fluid daily, increase your fiber intake, and feel free to use laxatives, if needed.
Precautions Following the Egg Retrieval Procedure
The recovery process is typically uncomplicated and straightforward. Given the short-term effects of sedation, you should avoid driving, exercising, or doing anything related to work or any significant personal or financial transactions for 24 hours following the egg retrieval. You should take off from work on the day of the egg retrieval and ensure that someone drives you home. The day after the egg retrieval, you may resume driving and routine activities. You should avoid vigorous exercise and intercourse for two weeks following the egg retrieval.
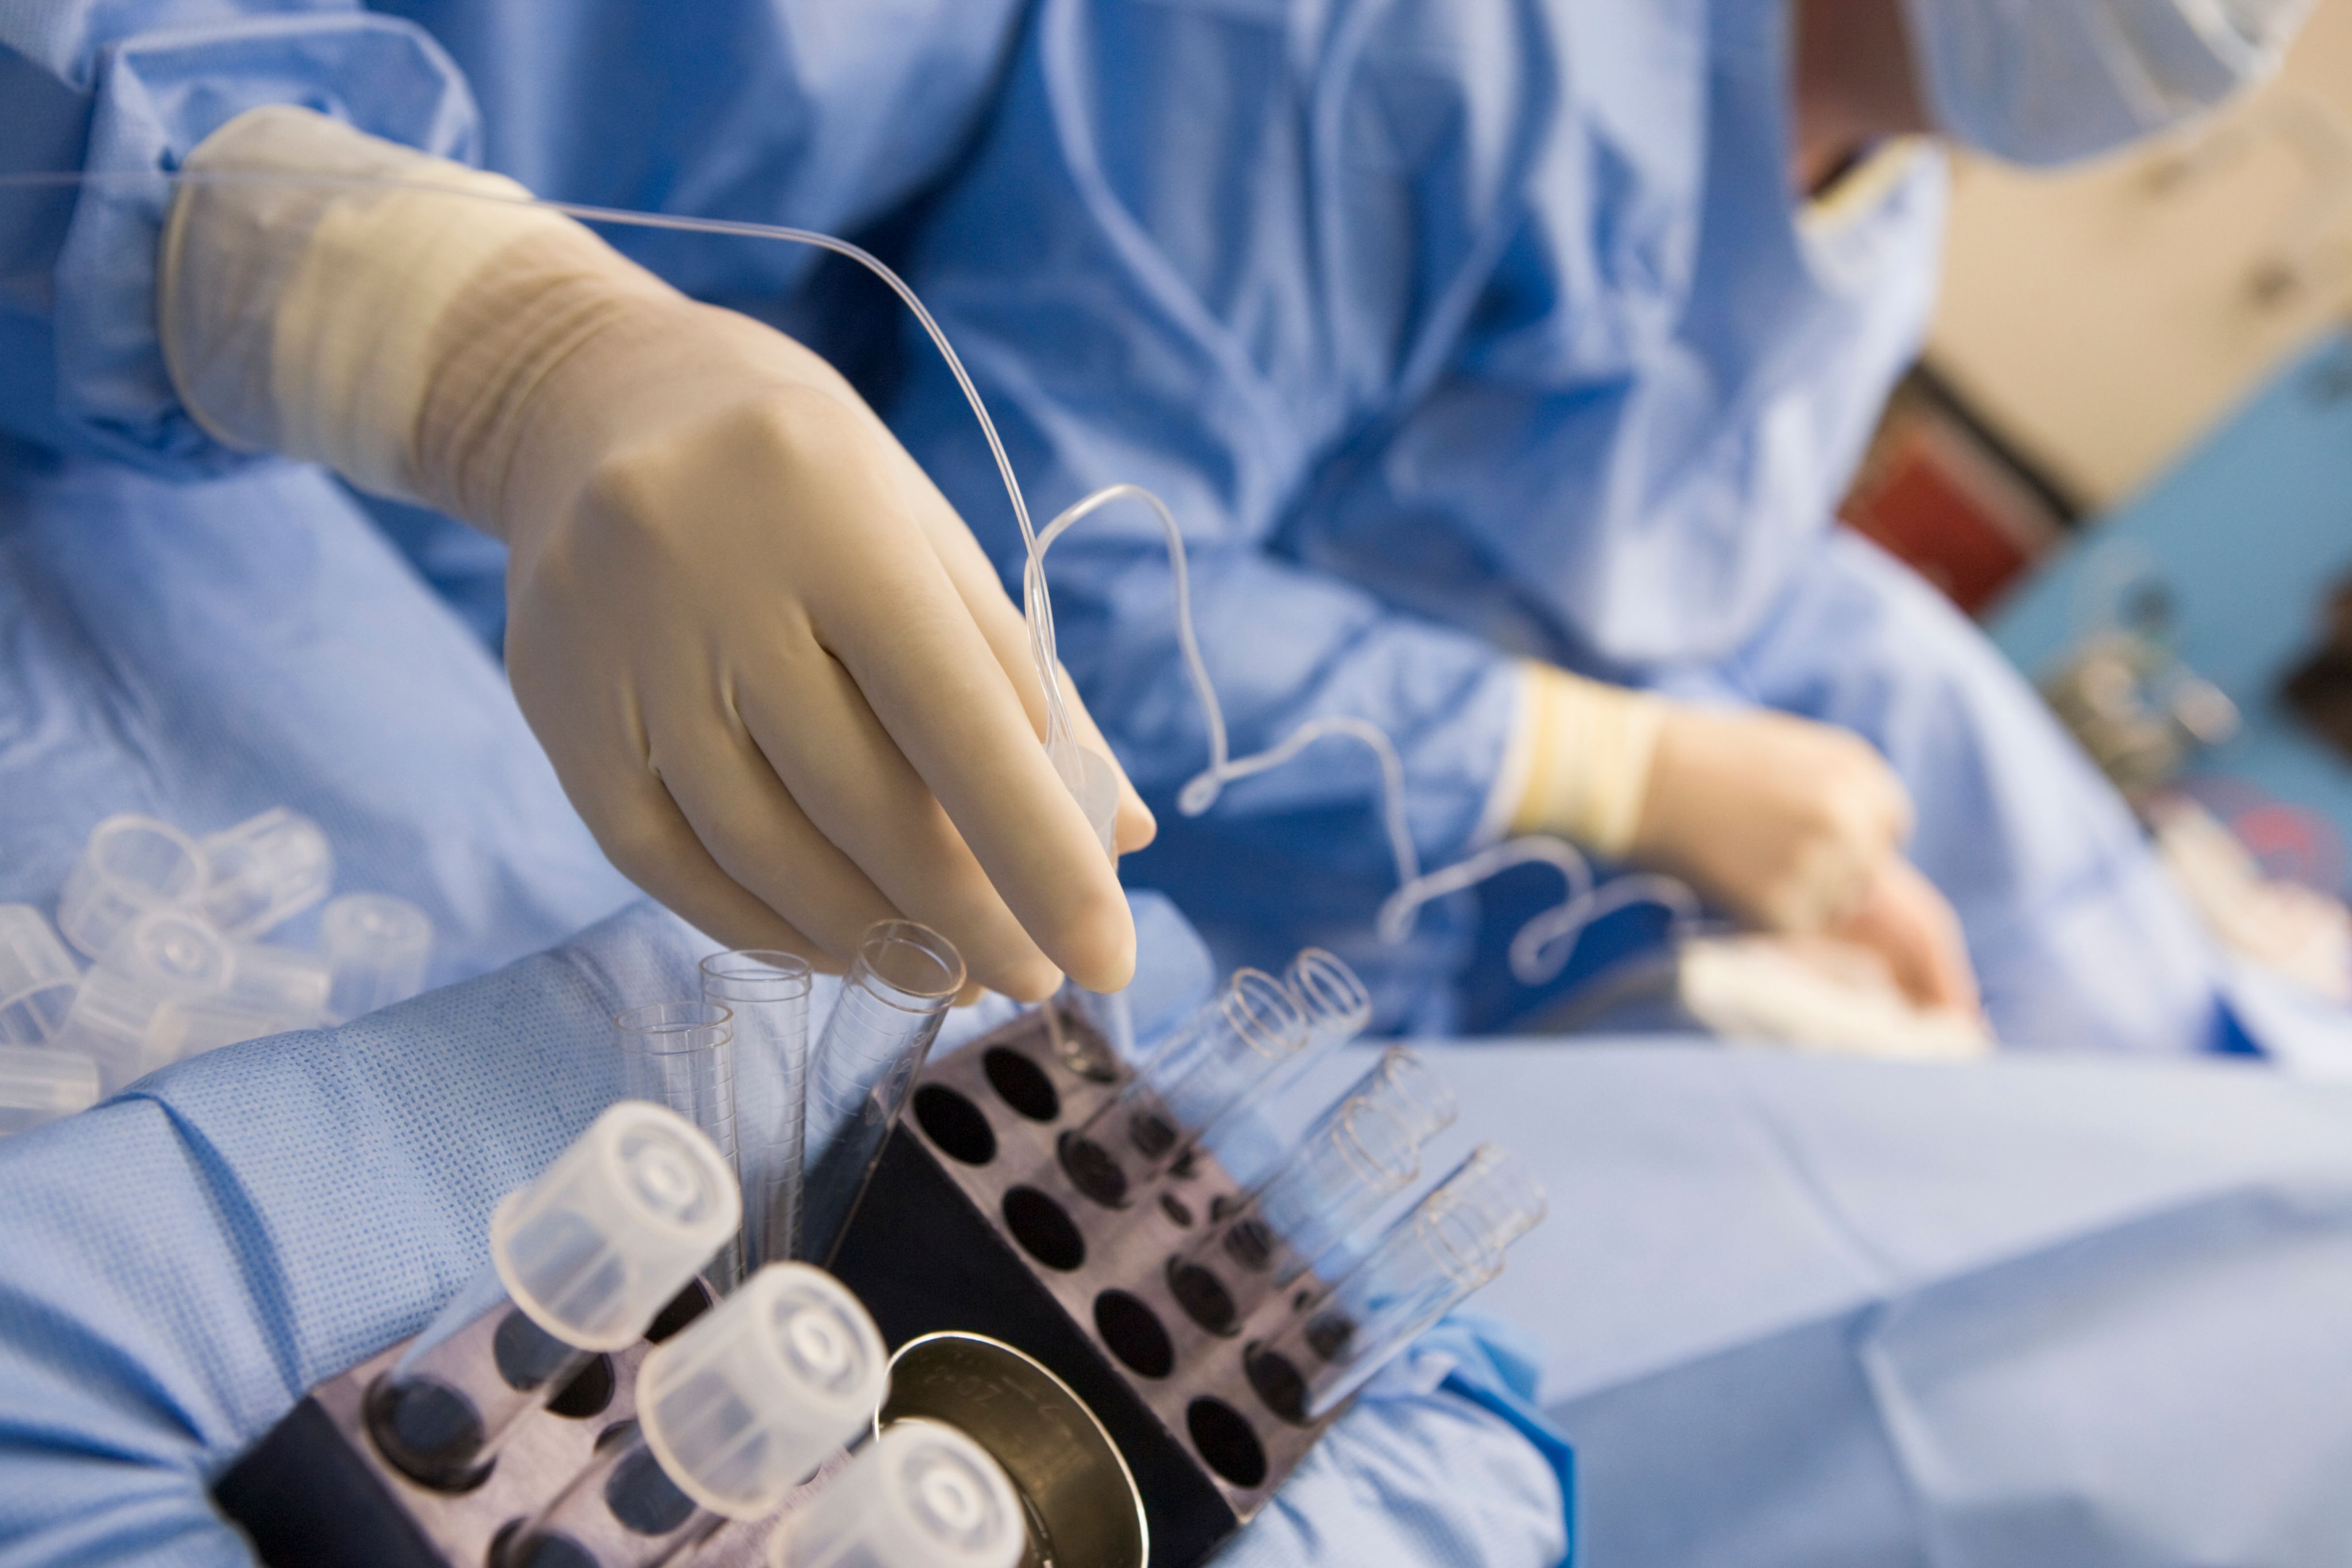
Fertilization in the IVF Lab
After your eggs are collected, they will be combined with sperm in the IVF laboratory 2-4 hours after the egg retrieval. If you have a male partner, sperm will be produced by him through masturbation or with his frozen sample that will be thawed on the same morning as your egg retrieval. If you are using frozen donor sperm, it can also be thawed and used to fertilize your eggs. In contrast to natural fertilization, in which an egg is fertilized in the body (“in vivo”), IVF accomplishes fertilization of your egg(s) outside of the body (“in vitro”) in an IVF laboratory.
Methods to Fertilize Eggs
There are two methods to accomplish fertilization with your eggs during IVF: conventional insemination and intracytoplasmic sperm injection (ICSI). The type of fertilization method used for you will be determined by your specific clinical situation and your care team.
Conventional insemination: In this method, the IVF lab team will combine 25,000-50,000 sperm with each of your individual eggs.
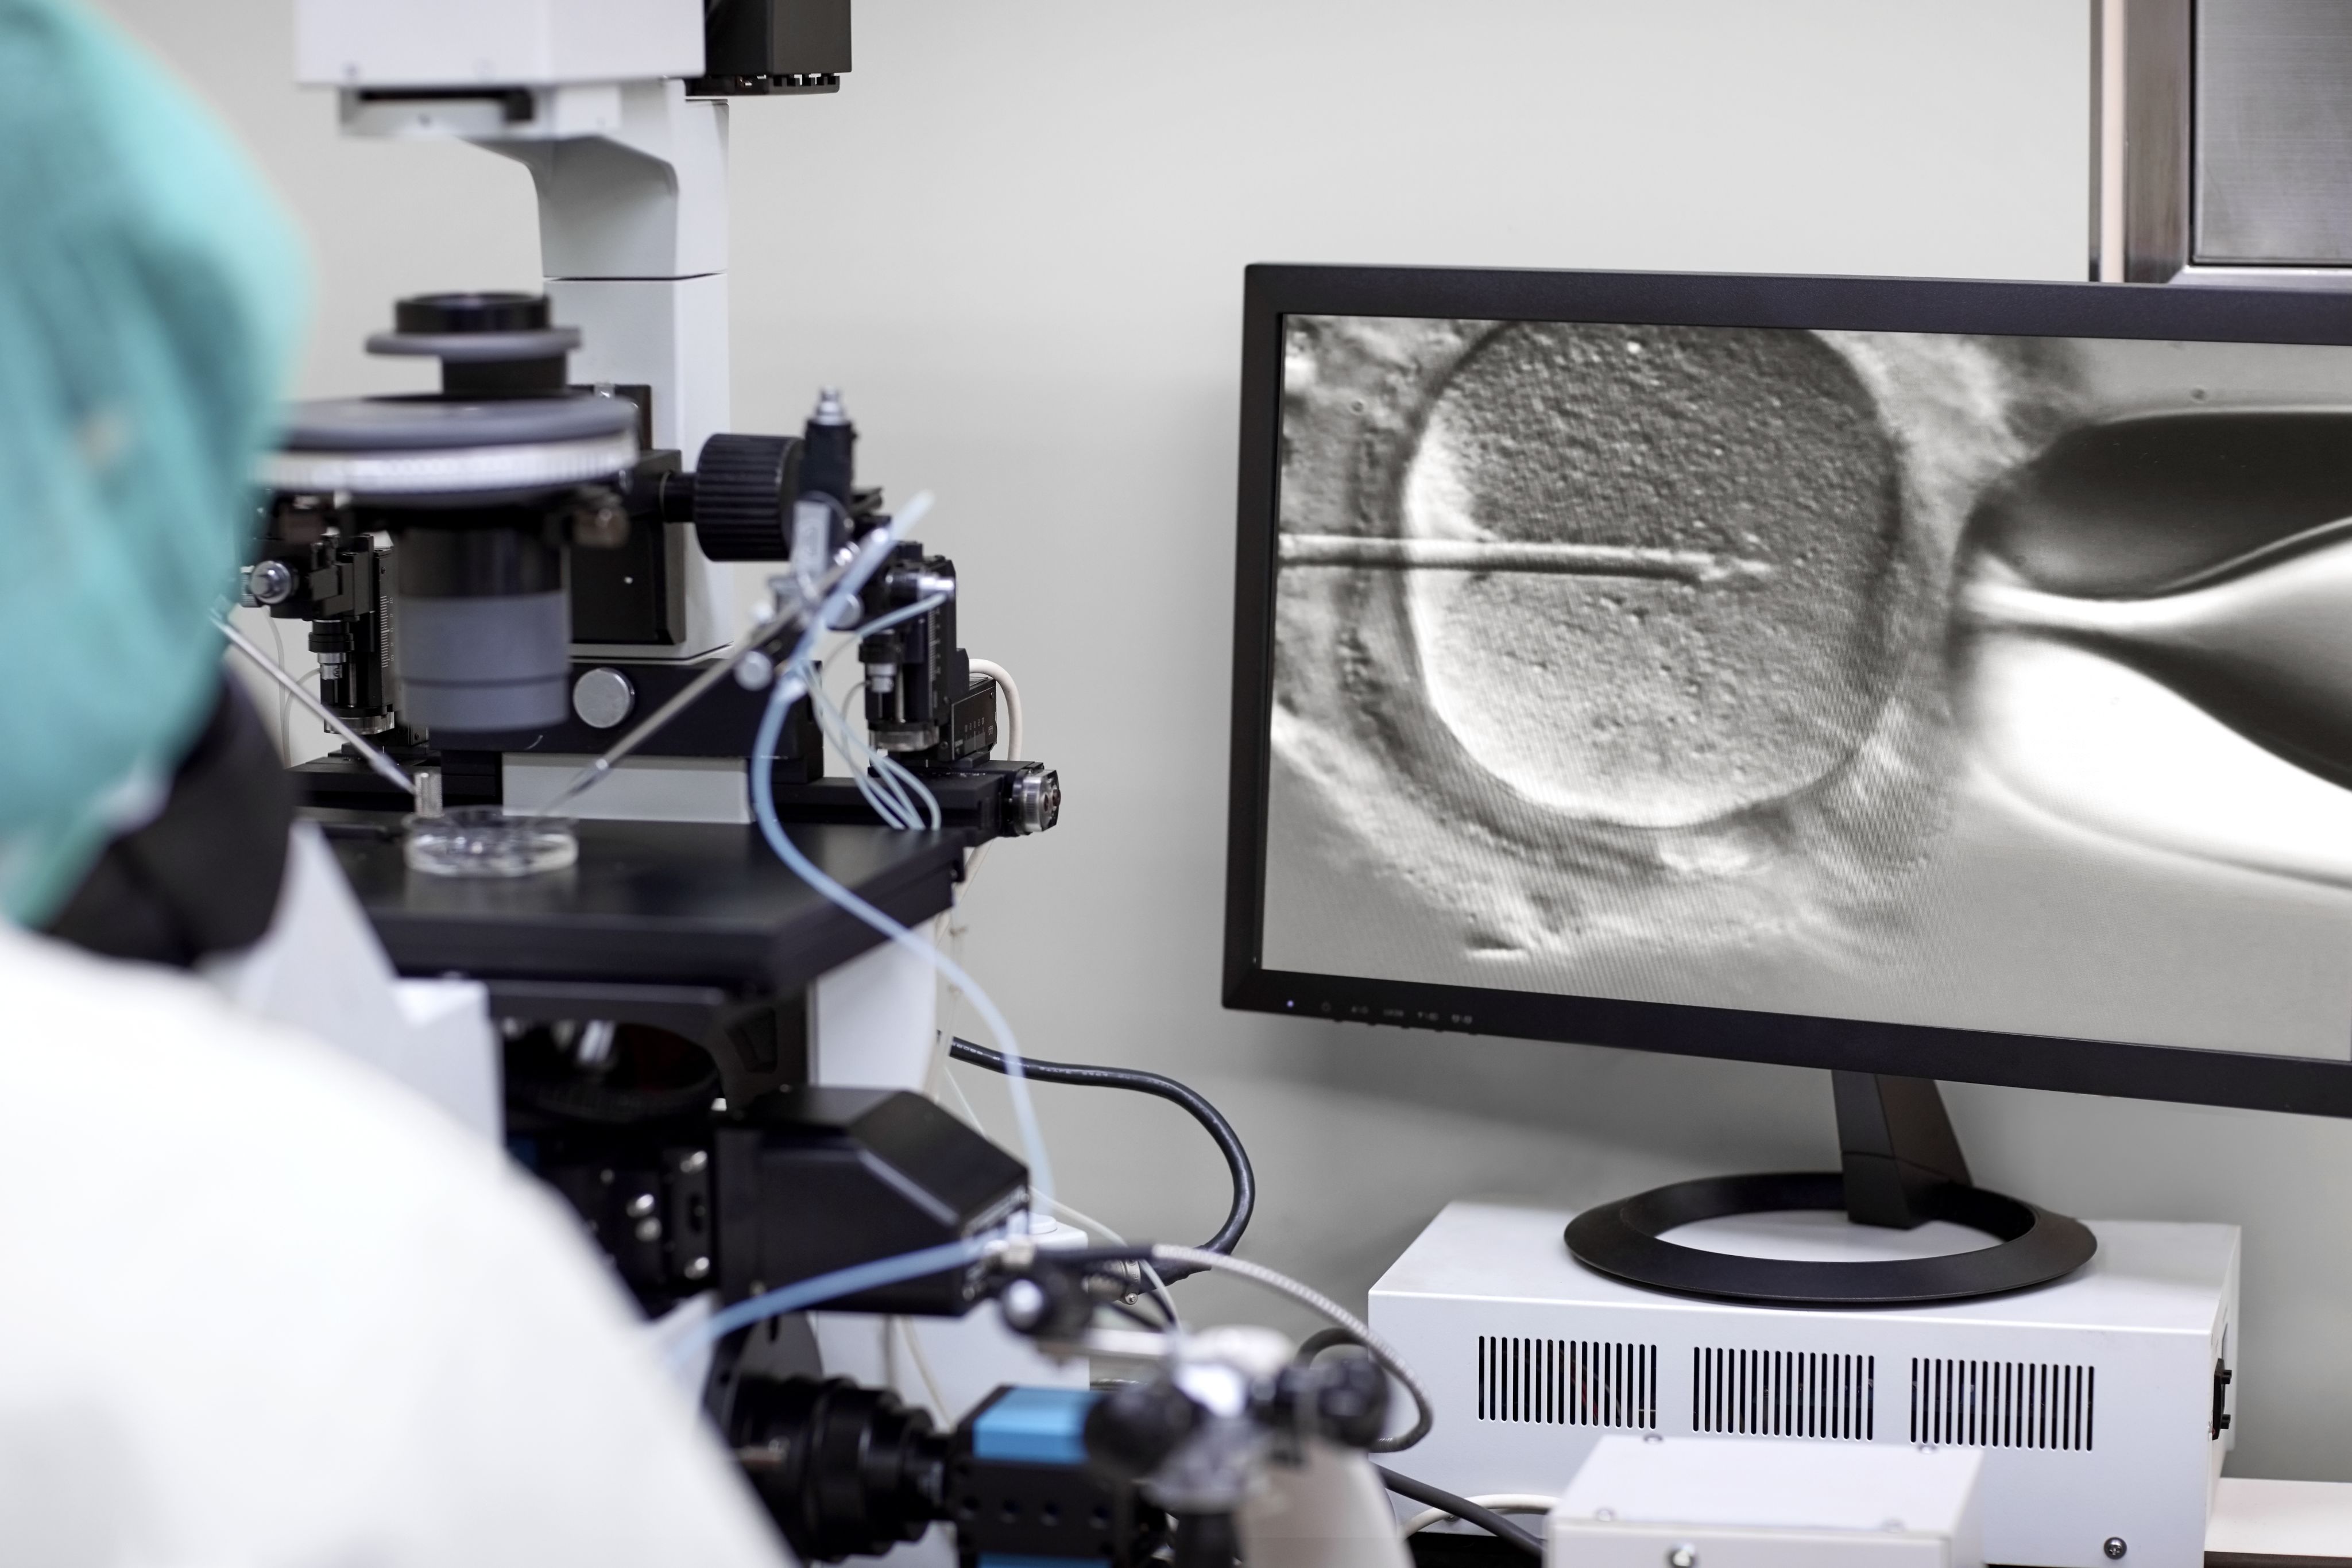
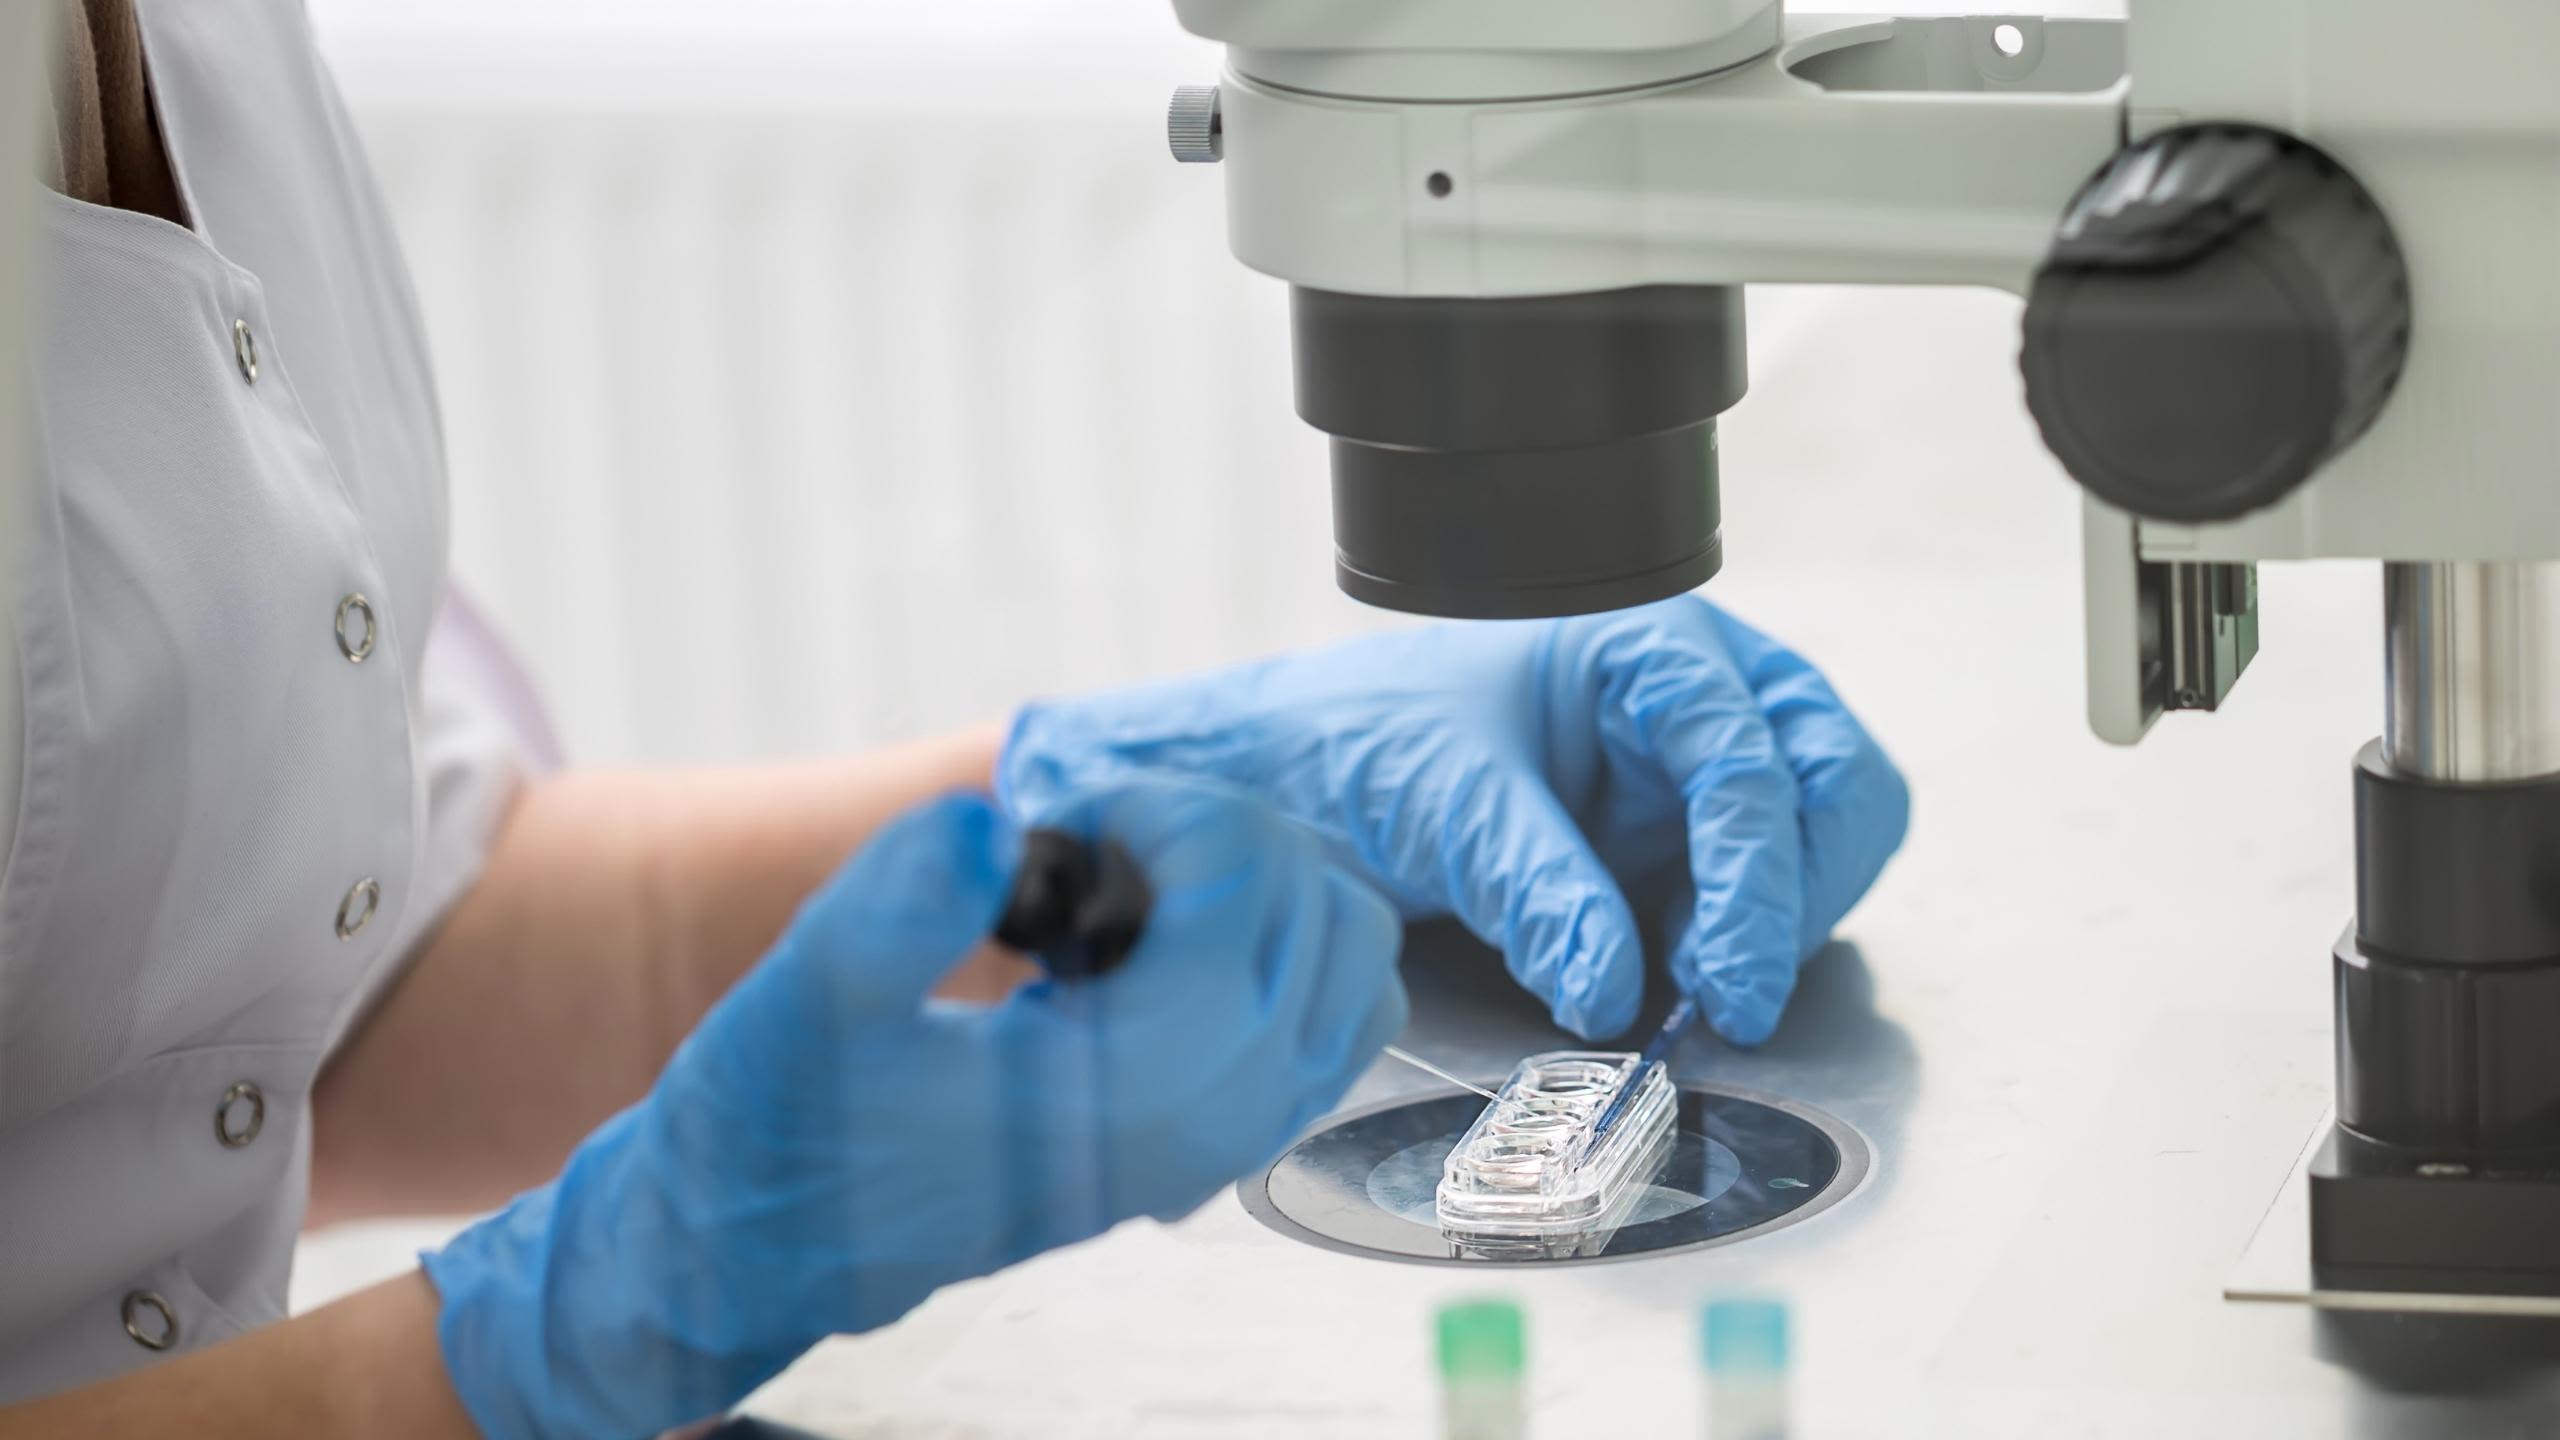
Intracytoplasmic sperm injection (ICSI): In this method, the cell layer surrounding the egg (the cumulus cells layer) is removed and the IVF lab staff can identify which of your eggs are immature and mature. The lab team identifies single sperm under the microscope that have normal shapes (including the head, tail, and connection between both head and tail) and normal swimming function. With a very small, specialized glass needle, the IVF lab staff will inject a single sperm with normal shape into each mature egg for a direct approach for fertilization.

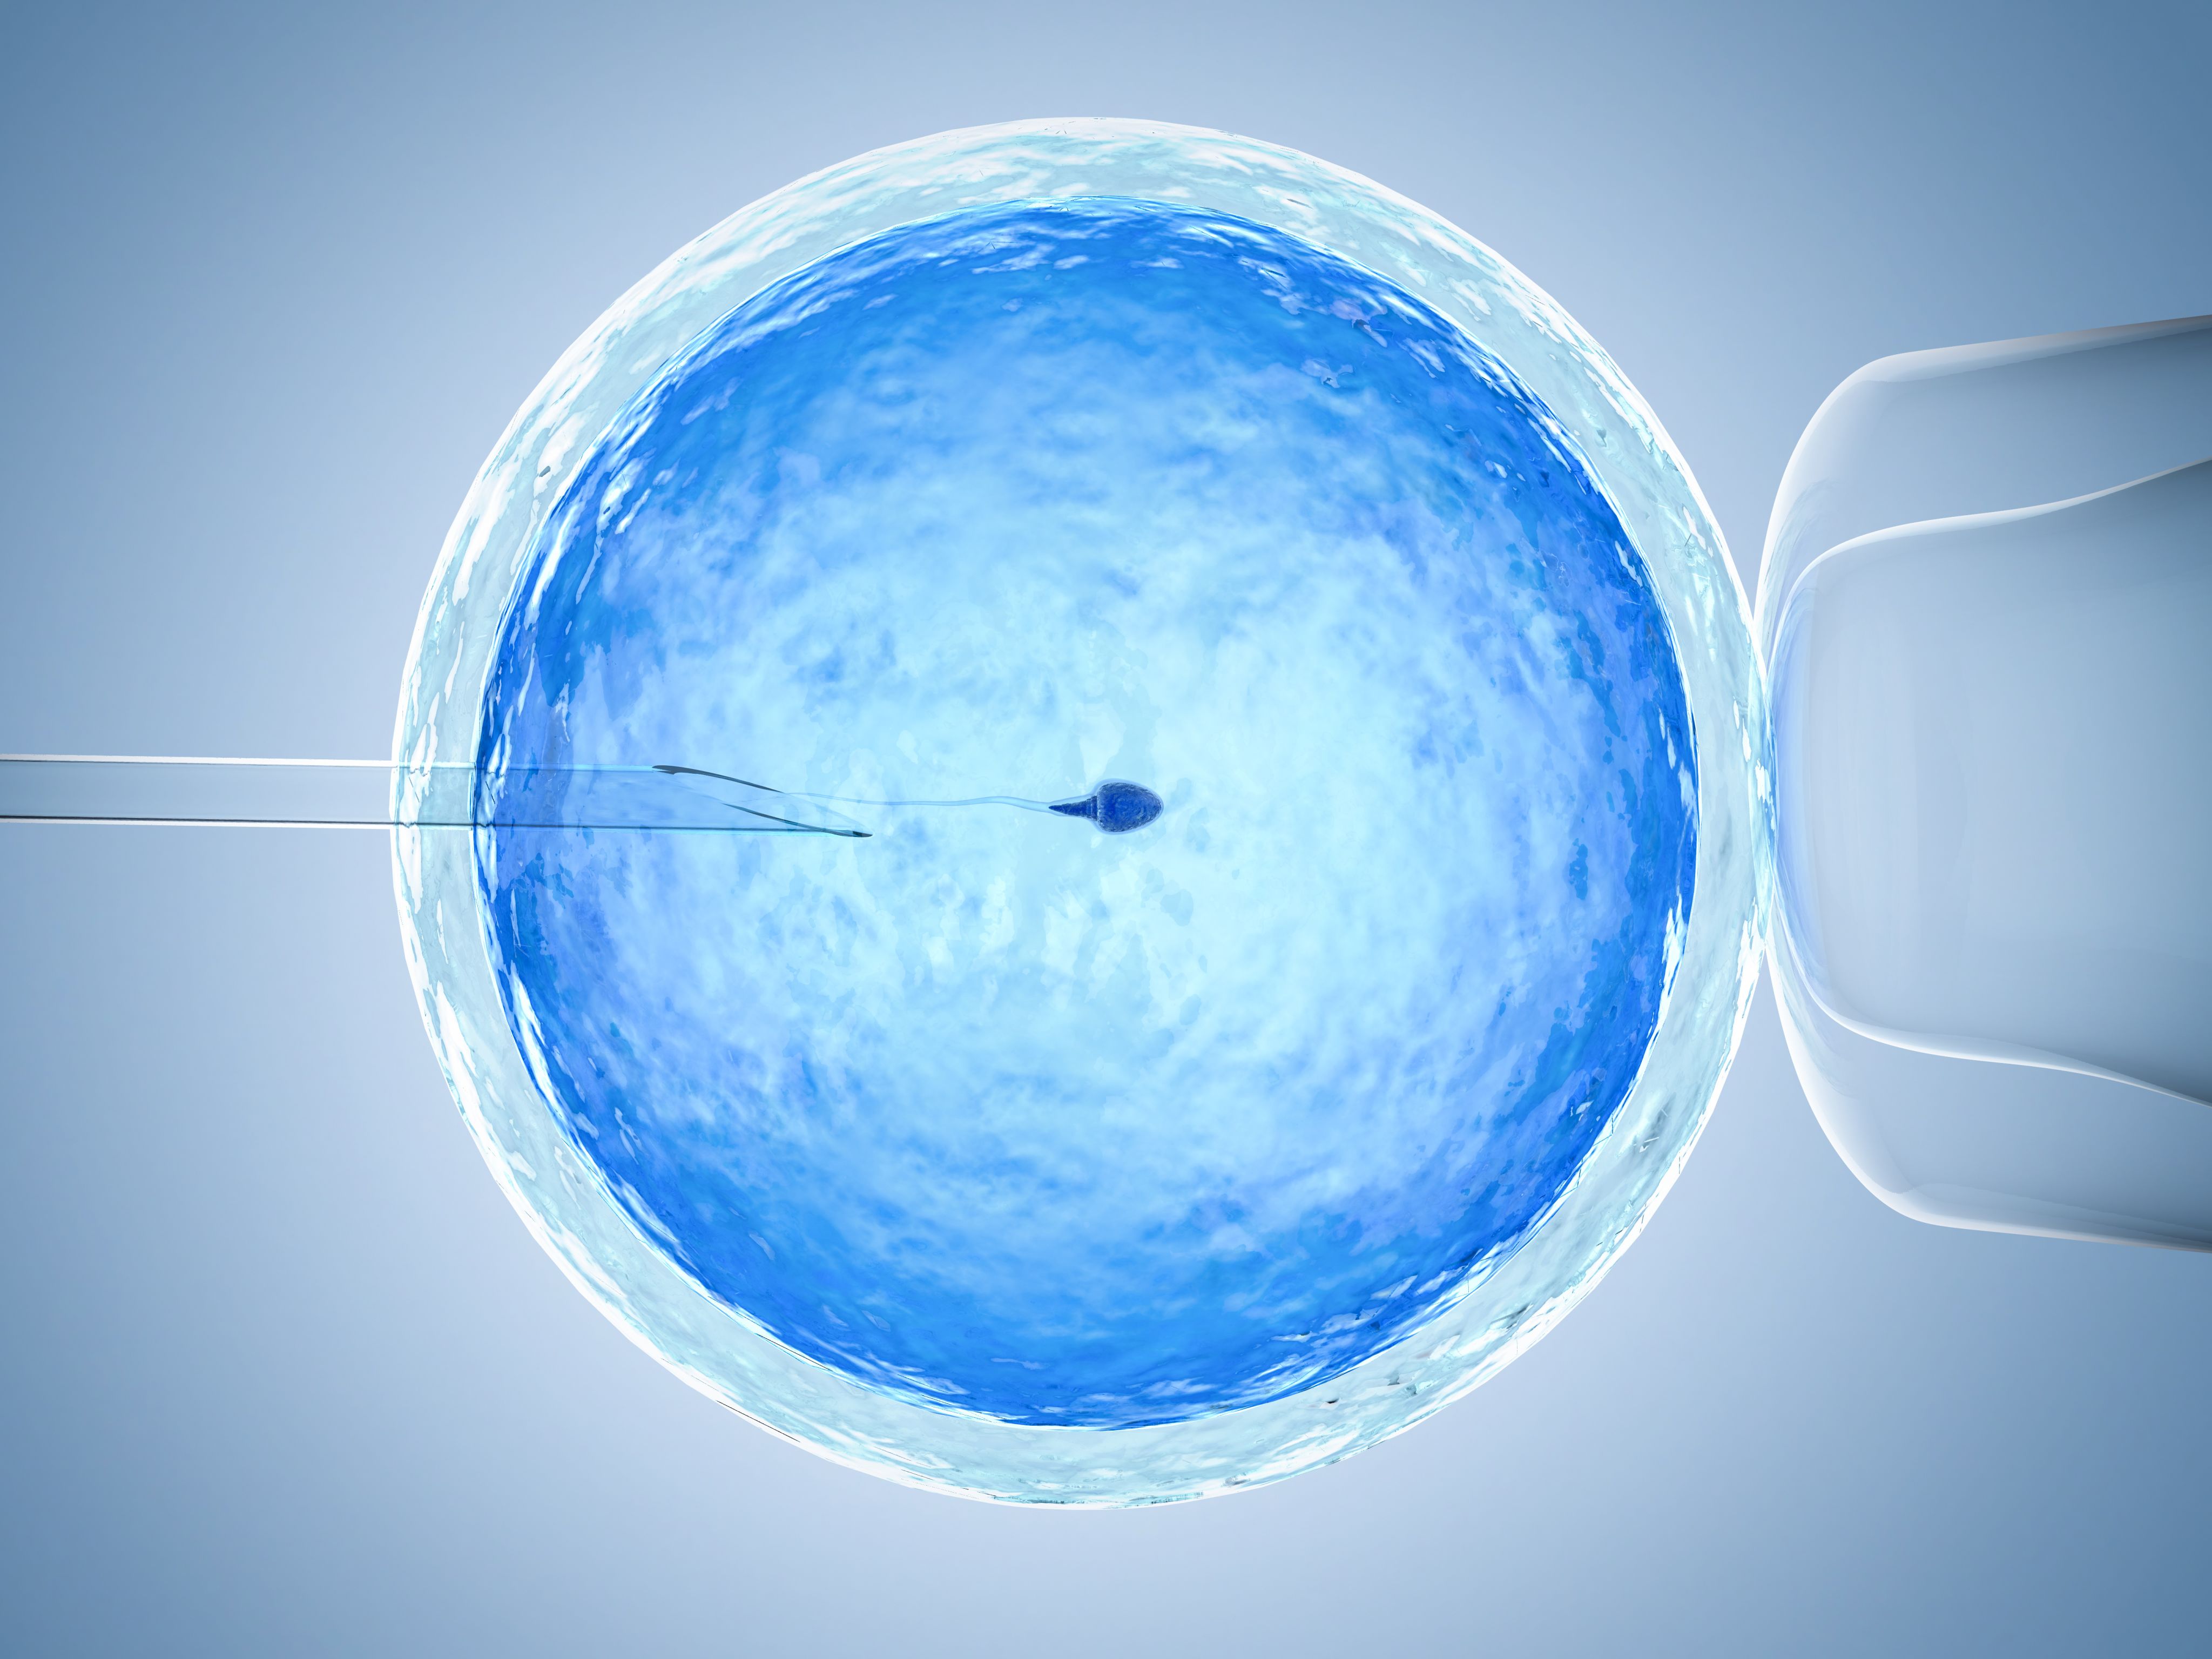
Intracytoplasmic sperm injection (ICSI)
Intracytoplasmic sperm injection (ICSI)
Timing and success of IVF
Approximately 18-24 hours after the egg and sperm come together (either by conventional insemination or ICSI), the genetic material of both female and male combine to form the zygote (fertilized egg) and fertilization is confirmed the morning after your egg retrieval.
On average, about 70-90% of mature eggs are fertilized during IVF.
Steps after fertilization is confirmed
The day following the egg retrieval and IVF, your team will call to let you know how many eggs have fertilized and have become zygotes.
After fertilization, your zygotes (embryos) may be cultured in the IVF laboratory for transfer into the uterus within the next 5 days (fresh embryo transfer) or they may be frozen for future thaw and transfer, thaw, culture and transfer, or they may undergo genetic testing (preimplantation genetic testing aka PGT) and freezing for future transfer.
Embryo Culture
In an incubator (the specialized device that simulates the temperature, oxygen, carbon dioxide levels, and nutrient levels in your fallopian tubes and uterus) in the IVF laboratory, the zygote will grow daily and develop as if it were inside of your body. The cells of the zygote divide daily.
Expected Milestones
One day after egg retrieval and fertilization, the resulting zygote is one cell.
Two Days after the egg retrieval: the zygote, also commonly called an embryo as it grows and divides (cleavage), is made up of 2 to 4 cells.
Three Days after the egg retrieval: at this stage, the embryo continues to grow and ideally contains 6 to 8 cells.
Five Days after the egg retrieval: At this stage, the embryo(s) has grown significantly and has divided (grown) to a collection of hundreds of cells and becomes the most advanced stage embryo called a blastocyst.
On day 5 after egg retrieval and fertilization, the embryo can be transferred into your uterus during a fresh embryo transfer.
Embryo Transfer
Fresh Transfer
Depending upon your specific medical circumstance and embryo yield, you may have a fresh embryo transfer on day 2, day 3 or day 5 after the egg retrieval.

The number of embryos for transfer
The number of embryos transferred will depend upon your age, clinical situation, and if the embryo(s) have undergone genetic testing.
The embryologist and your physician will use a standardized system to describe how healthy the cells of your embryos look (grading). Your team can then select the best embryo(s) available for transfer usually based upon the grading and appearance of your embryo’s cells.
Refer to this guideline for embryo transfer from the American Society for Reproductive Medicine (ASRM), for more information.
Alternatives to fresh embryo transfer
A fresh embryo transfer is not always performed immediately following an egg retrieval and IVF. In some cases, embryos can be frozen at different stages of development following fertilization and can be subsequently thawed and transferred at a later date.
Embryo freezing (no testing)
If embryos are not transferred fresh within 5 days after IVF, they can be frozen and thawed and transferred at a later date. This is called a cryothaw embryo transfer (CET).
Preimplantation genetic testing (PGT)
PGT is performed by carefully removing cells from the embryo surface, and freezing the embryos for subsequent thaw and transfer. This can involve testing for the correct number of chromosomes (aneuploidy screening or PGT-A) and/or for mutations (errors in genes) that you or your partner may carry (single gene or mutation testing or PGT-M). Once the results are obtained from PGT, the embryo with a correct number of chromosomes and/or unaffected by a mutation of interest, can be thawed and transferred into the uterus.
Embryo Transfer Day
Whether you have a fresh embryo transfer or a cryothaw transfer, you and your partner (if applicable) will be brought into the treatment room for your embryo transfer. The embryologist and physician will confirm your identity and your embryo(s), and will review which embryo(s) have been selected to be transferred.
Embryo transfer preparation
You will either wear a gown or remove your pants and undergarments for the procedure. Next, you will be assisted onto the exam table and will lay flat on your back. An ultrasound probe will be placed on your lower abdomen to confirm the location of the uterus and if the uterine lining can be seen easily.
Embryo transfer procedure
The physician will place a speculum in the vagina and locate the cervix and remove any excessive mucous or discharge and will then proceed with a trial (practice embryo transfer).
Using an empty catheter, she/he will use an empty embryo transfer catheter to perform a trial transfer to simulate the actual transfer by placing the tip into and through the cervix to confirm the path and direction with ultrasound guidance.
The embryologist will then load your embryo(s) into a specialized embryo transfer catheter with a small amount of fluid and air. Using ultrasound guidance, the physician will place the embryo catheter through the external opening of the cervix and will place the tip of the catheter in the uterine lining about 1 to 1.5 centimeters from the top of the uterus.
Using the attached syringe, she/he will push the syringe handle and your embryo(s) will be transferred from the catheter tip into the lining of the uterus. She/he will slowly remove the catheter and confirm that the embryo(s) have been transferred and have not been retained in the catheter. When this has been confirmed, your physician will remove the speculum.
Confirmation of embryo transfer location
Since the embryo can’t be seen with the naked eye, it also can’t be seen in the uterus with the ultrasound. After transfer, the fluid that contained the embryos in the catheter will appear as several bright areas in the lining of the uterus. This will provide you and your team with an approximate location of where your embryo(s) have been transferred and confirm that they were transferred into the correct place.
Embryo Transfer Recovery
After completion of the embryo transfer, you will rest in the transfer room for 10 minutes. You will then get dressed, can empty your bladder, and will be able to go home or back to work thereafter. No sedation or pain medication is required for the procedure. There is minimal discomfort, and most patients relate the effort and discomfort involved in an embryo transfer to having a routine gynecologic examination with a PAP smear.
Hormonal Support
Most patients will need to take hormonal medications (progesterone and estrogen) to help the lining become receptive for the transferred embryo, to optimize the chance of the embryo implanting in the lining of the uterus, and to support the growth of an early pregnancy. These medications can be oral tablets and/or vaginal suppositories and/or intramuscular shots. This will be dependent upon your specific circumstances. If you require hormonal support for your embryo transfer, your team will review these instructions prior to the start of your treatment cycle. If you become pregnant, these medications may continue until 10-12 weeks of your pregnancy.

Pregnancy Testing

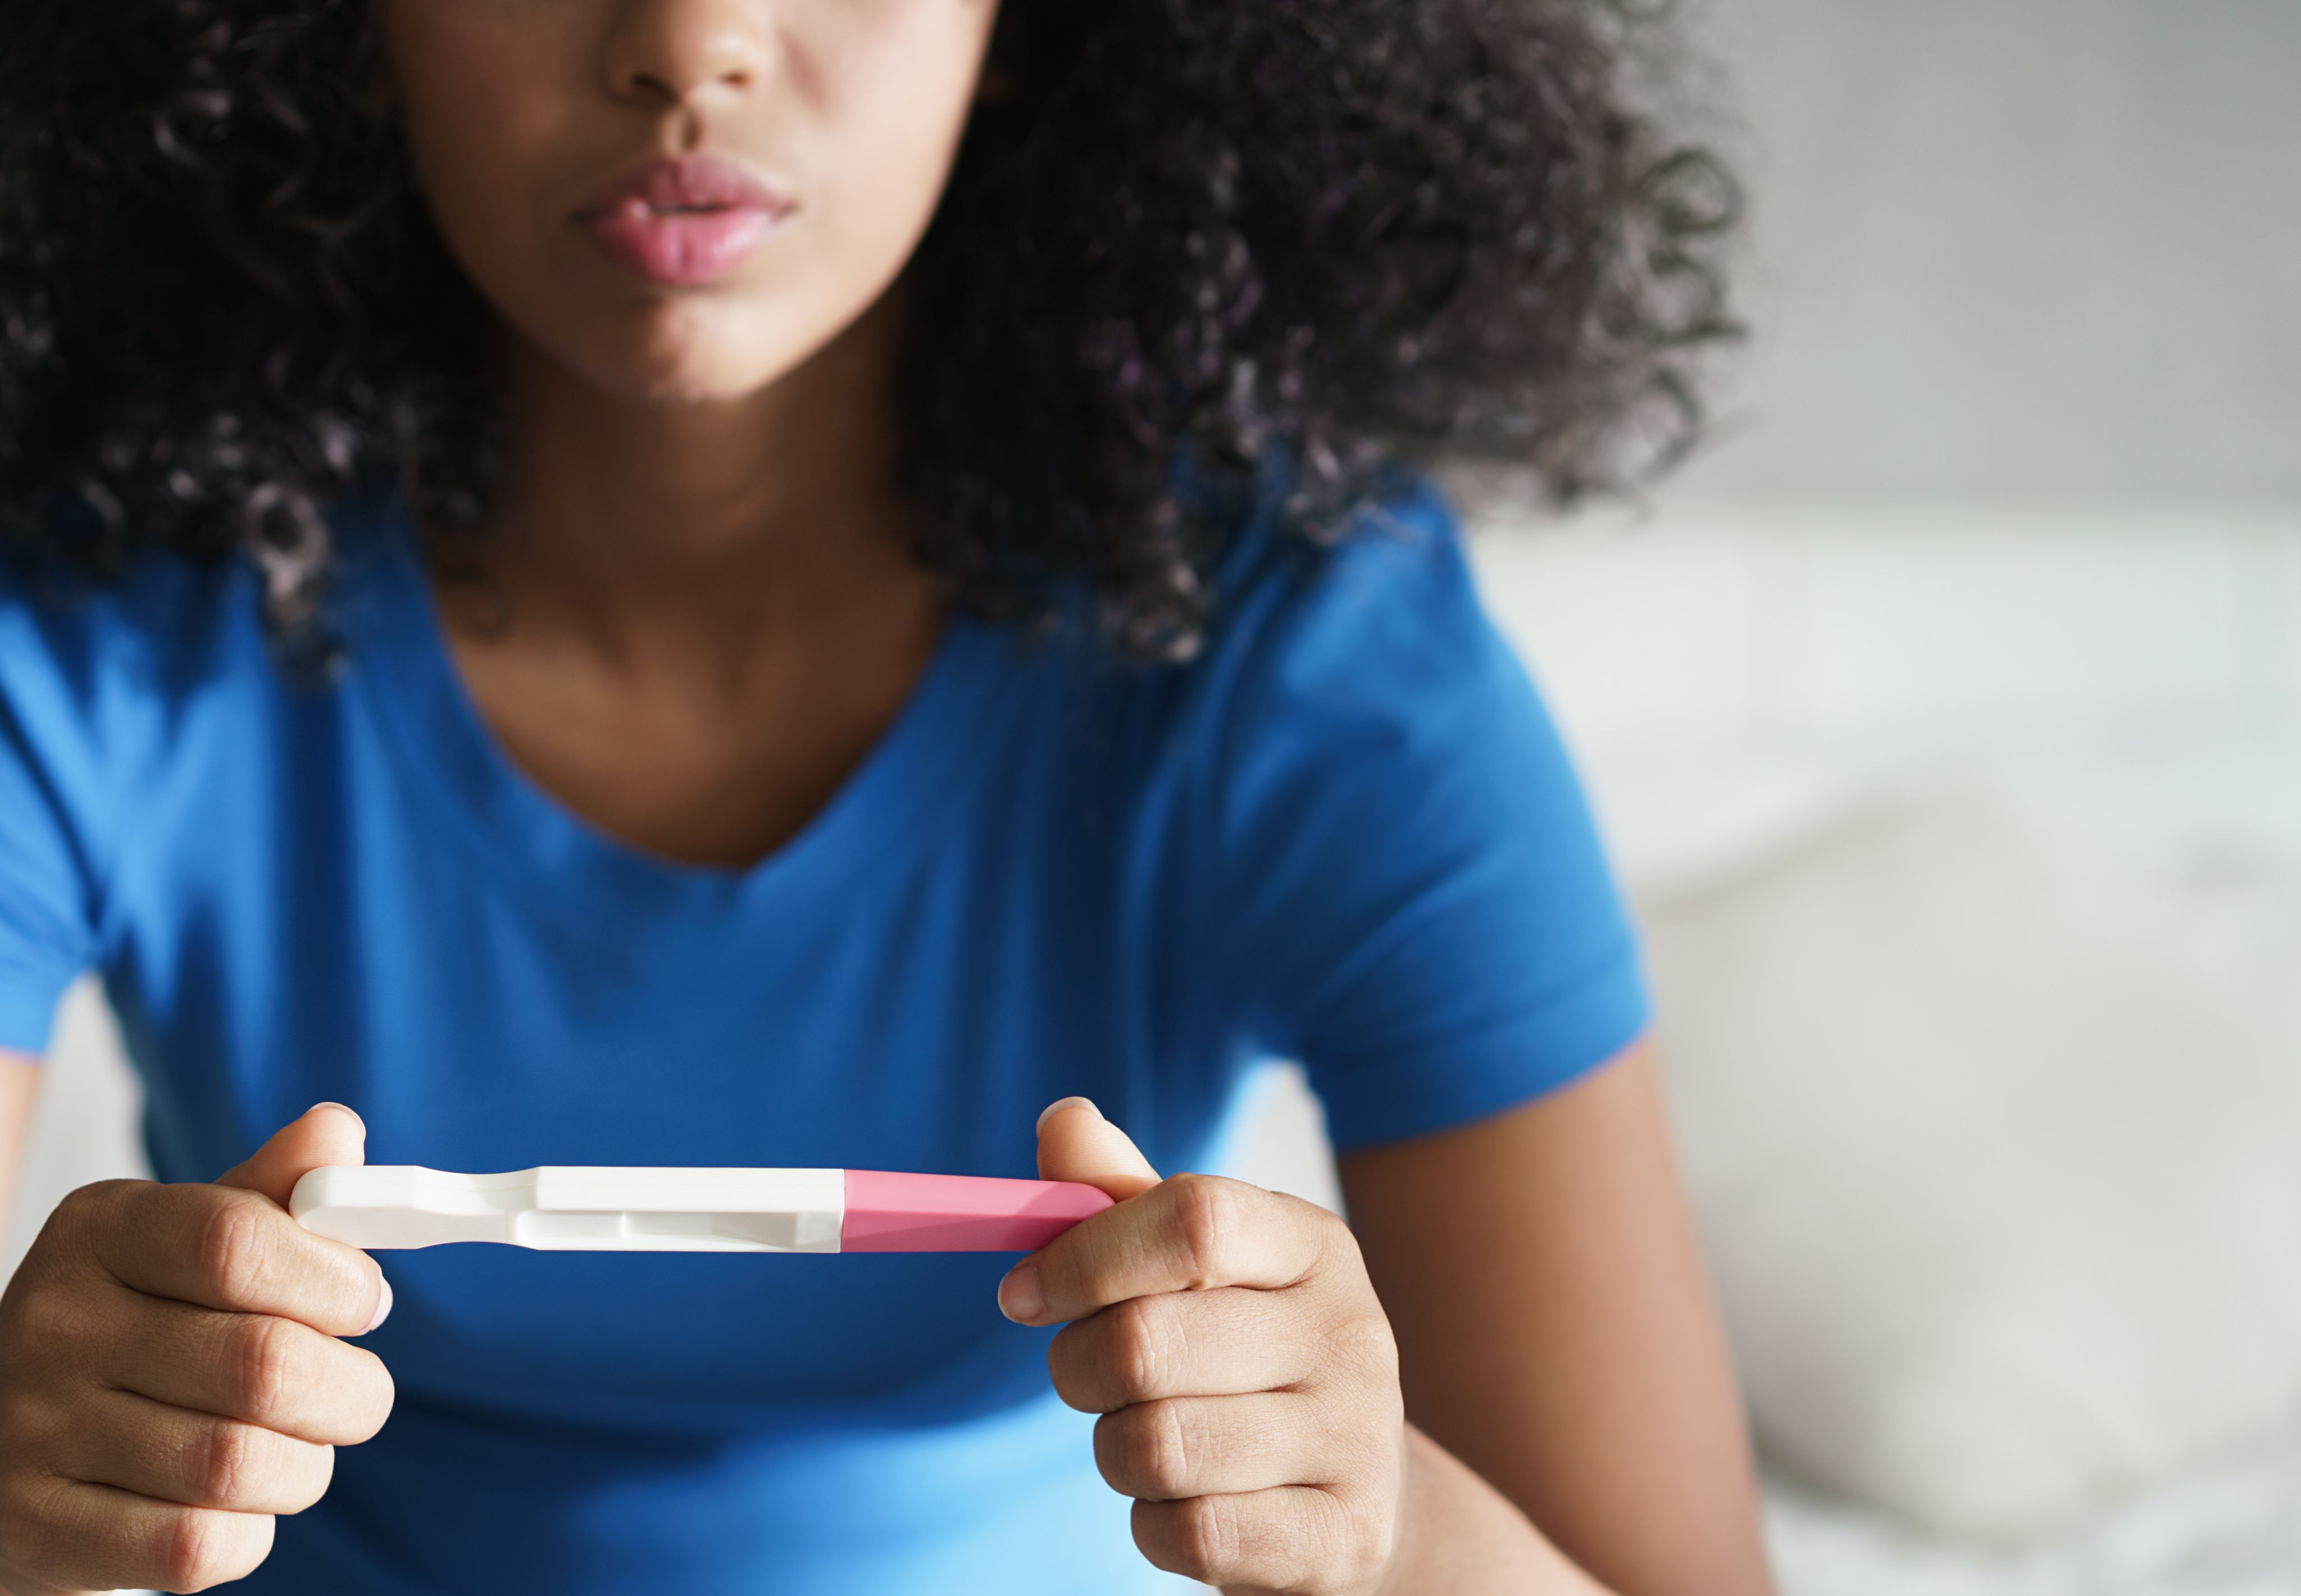
Blood Pregnancy Test(s)
If your embryo(s) implants into the lining of the uterus, it releases the pregnancy hormone, human chorionic gonadotropin, or hCG. This can be detected by blood test or by urine test (such as over-the-counter home pregnancy tests). Depending upon the protocol of your fertility center and the day of your transfer, a hCG blood test will be drawn 9-14 days after your embryo transfer. If the embryo has implanted, your hCG will be positive and will be detected at a specific numerical level. If the hCG is positive, a second blood hCG level will be checked 48 hrs later to confirm that the level is rising appropriately.
Pregnancy Ultrasound(s)
Once your rising hCG levels have been confirmed, you will be scheduled for your first pregnancy ultrasound within 1-2 weeks to confirm that your pregnancy is growing in the correct location in the uterus and that it is growing appropriately. Once all is confirmed normal reassured by ultrasound, you will then be referred to your obstetrician for prenatal care.
Support During Your IVF Journey
The road to parenthood via IVF can be challenging. You are not alone during this journey and you are stronger than you could ever imagine.
Choosing a fertility clinic that will work closely with you to achieve your goals, and leaning on your friends, family and/or support system can help to successfully navigate the emotional challenges of your fertility journey.


Dr. Aaron K. Styer is a reproductive endocrinologist, founding partner, and co-medical director of CCRM Boston. He is board certified in obstetrics and gynecology and the subspecialty, reproductive endocrinology and infertility. He has many years of experience in IVF treatment, IUI treatment, PCOS treatment, and gestational surrogacy. Dr. Styer’s primary goal is to provide compassionate and individualized care based upon attention to detail, accurate diagnosis, and empathy to the stressors of infertility.